|
Note |
|
Currently, the shift at a glance feature requires the Toast Now app to send staff notes to a POS device. For more information, see this Toast Central article. |
With the staff notes feature, you can communicate information such as new daily specials, upcoming reservations, operational changes, housekeeping tasks, and team acknowledgements like birthdays and celebrations. Employees are prompted to view staff notes when they clock into their shift on a Toast POS device. This ensures your staff is kept up to date with the latest information and are prepared for their shift.
|
Note |
|
Staff notes can only be viewed by employees for the business day. Employees cannot view a previous day's staff notes. As a manager you can view archived notes on the Toast Now app. |
As a manager, you can view staff notes on the POS broadcast screen on the Toast Now app, or on the Today's Shift screen on a Toast POS device.
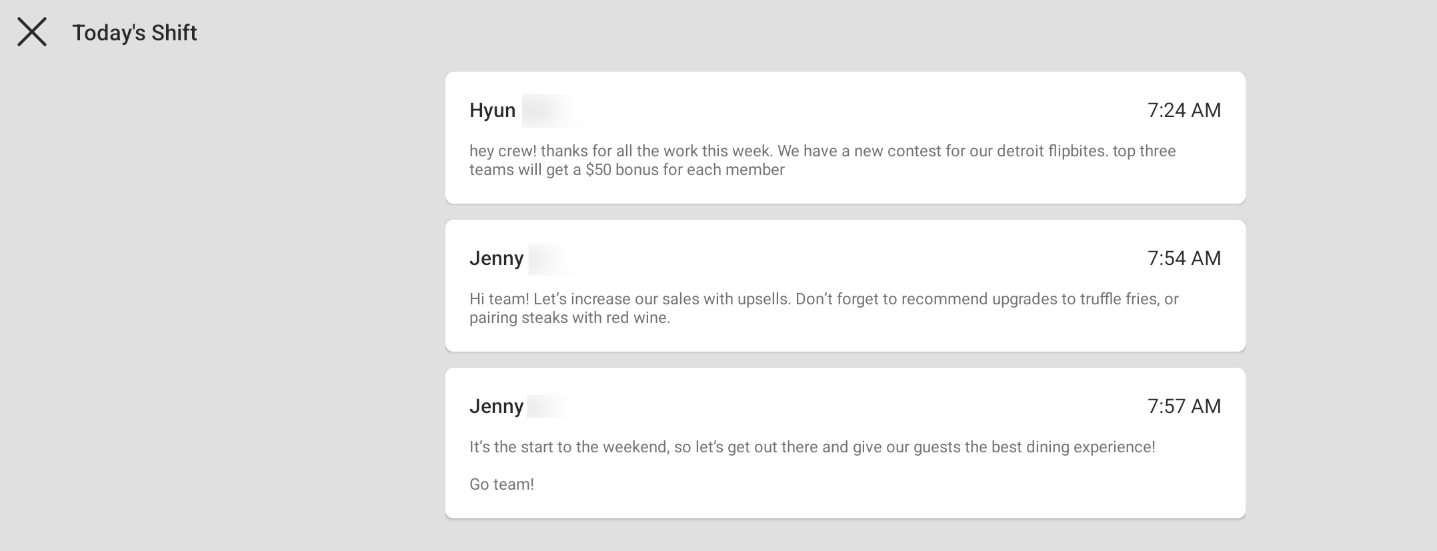
As an employee, you can view staff notes on the Today's Shift screen on a Toast POS device. Staff notes are automatically displayed for all staff who have to clock in for their shift or have to enter a POS passcode into a Toast POS device.
|
Note |
|
Staff notes are not shown if an employee clocks back into their shift. |
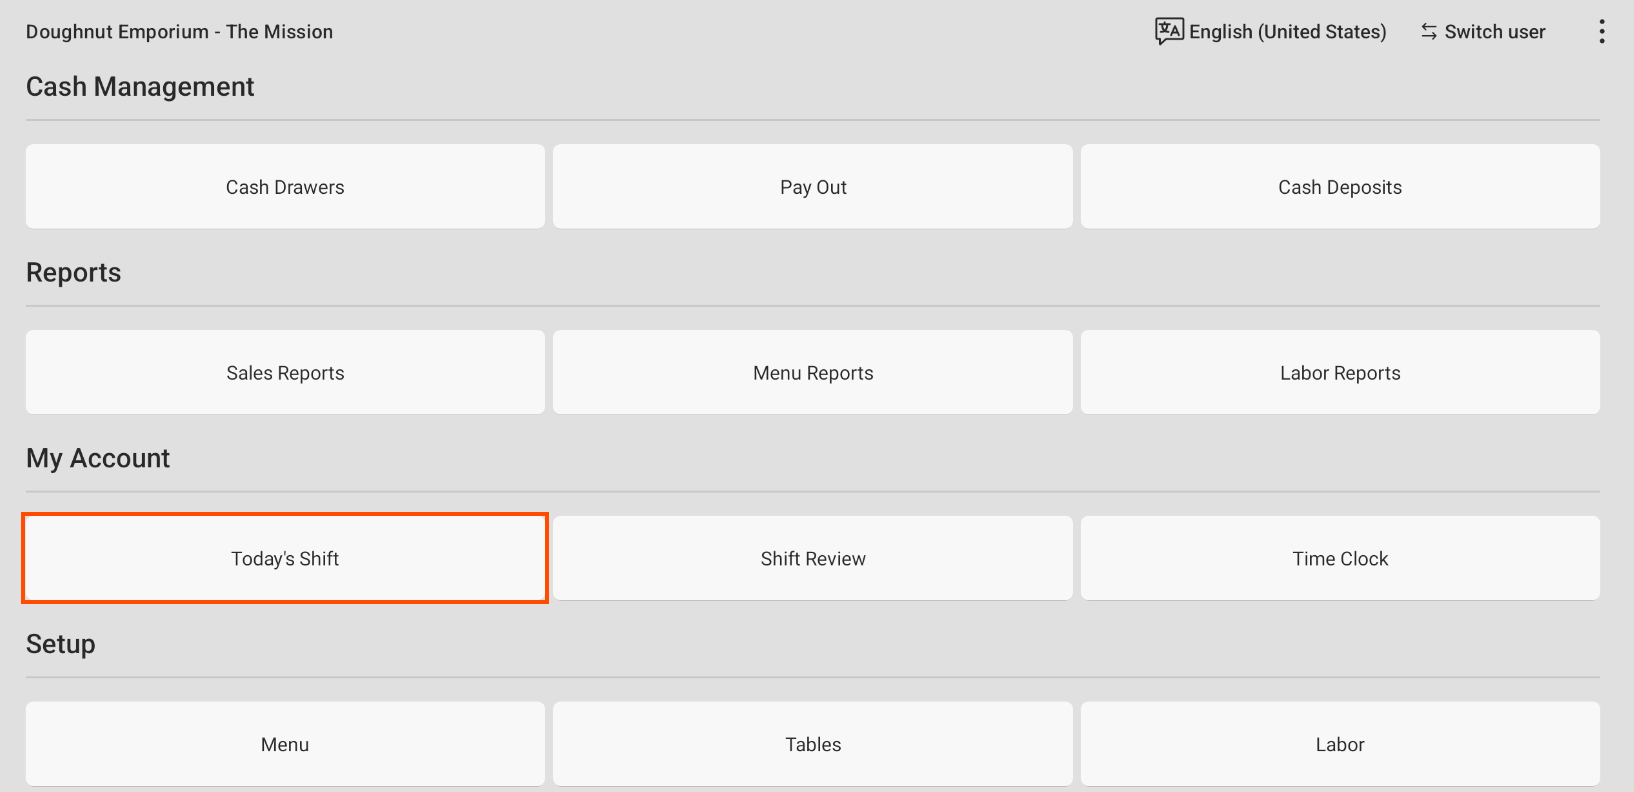
On a Toast POS device, staff can view notes from either:
-
My Account > Today’s Shift
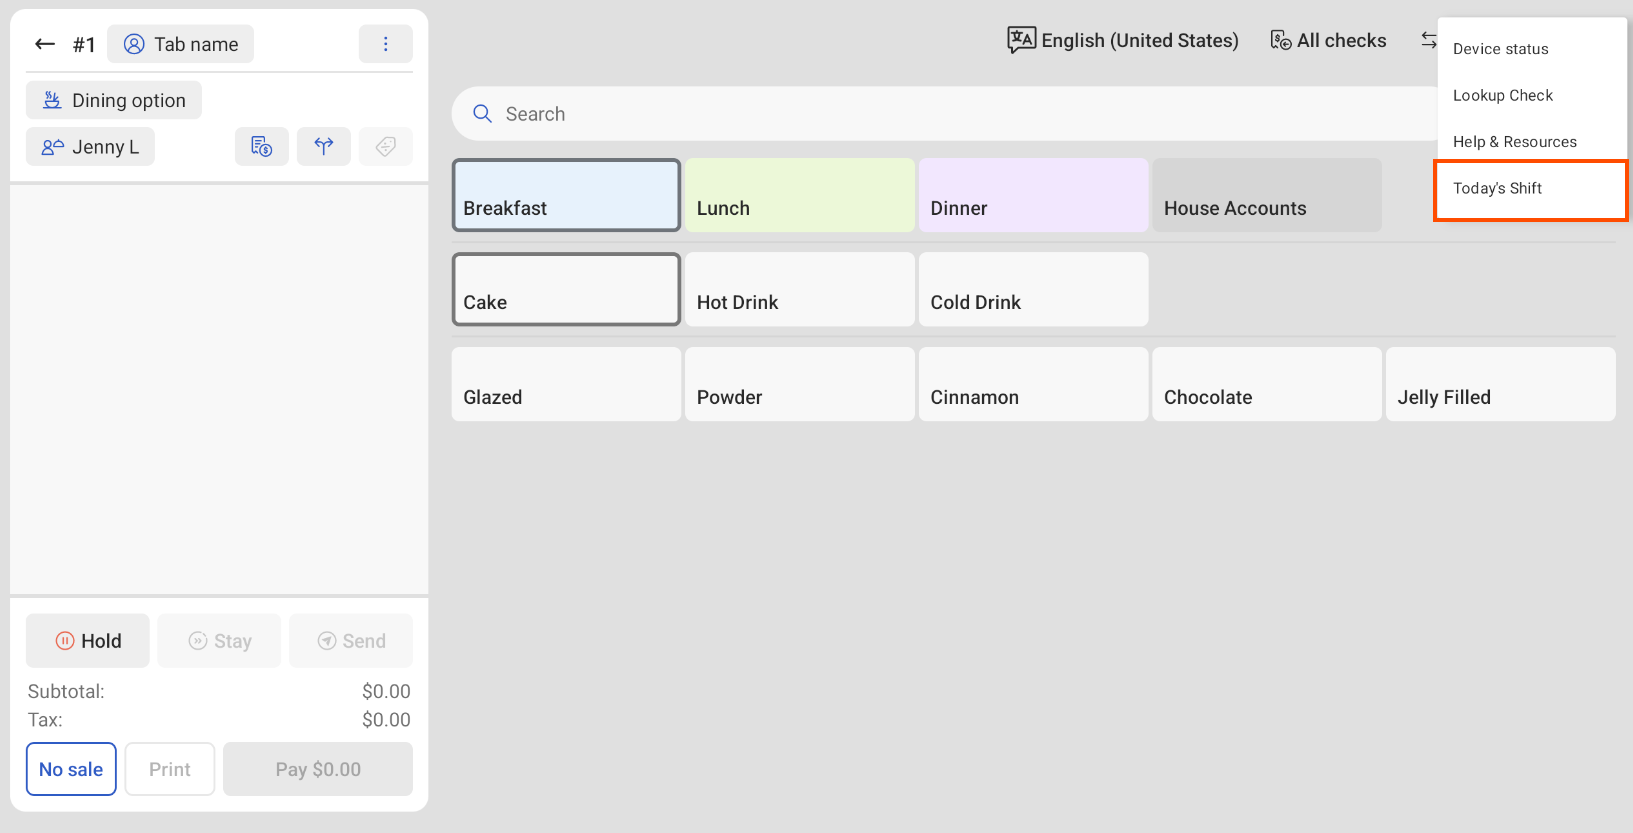
-
Overflow menu > Today's Shift on the following screens: Table Service, Quick Order, Fast Service, Payment Terminal and Orders Hub.
|
Note |
|
Staff must have permission to access at least one of the order screens listed above to be able to view shift notes. |
On the Toast Now app, you can create notes for your staff. For example, you can create notes to capture menu changes, to remind your staff of side work, or to help coordinate events. To create a staff note, you must have access to the Toast Now app and have an employee job type that has access to the Manager > 3.2 Log Book permission. For more information about permissions, see Manager access permissions.
To create a staff note
-
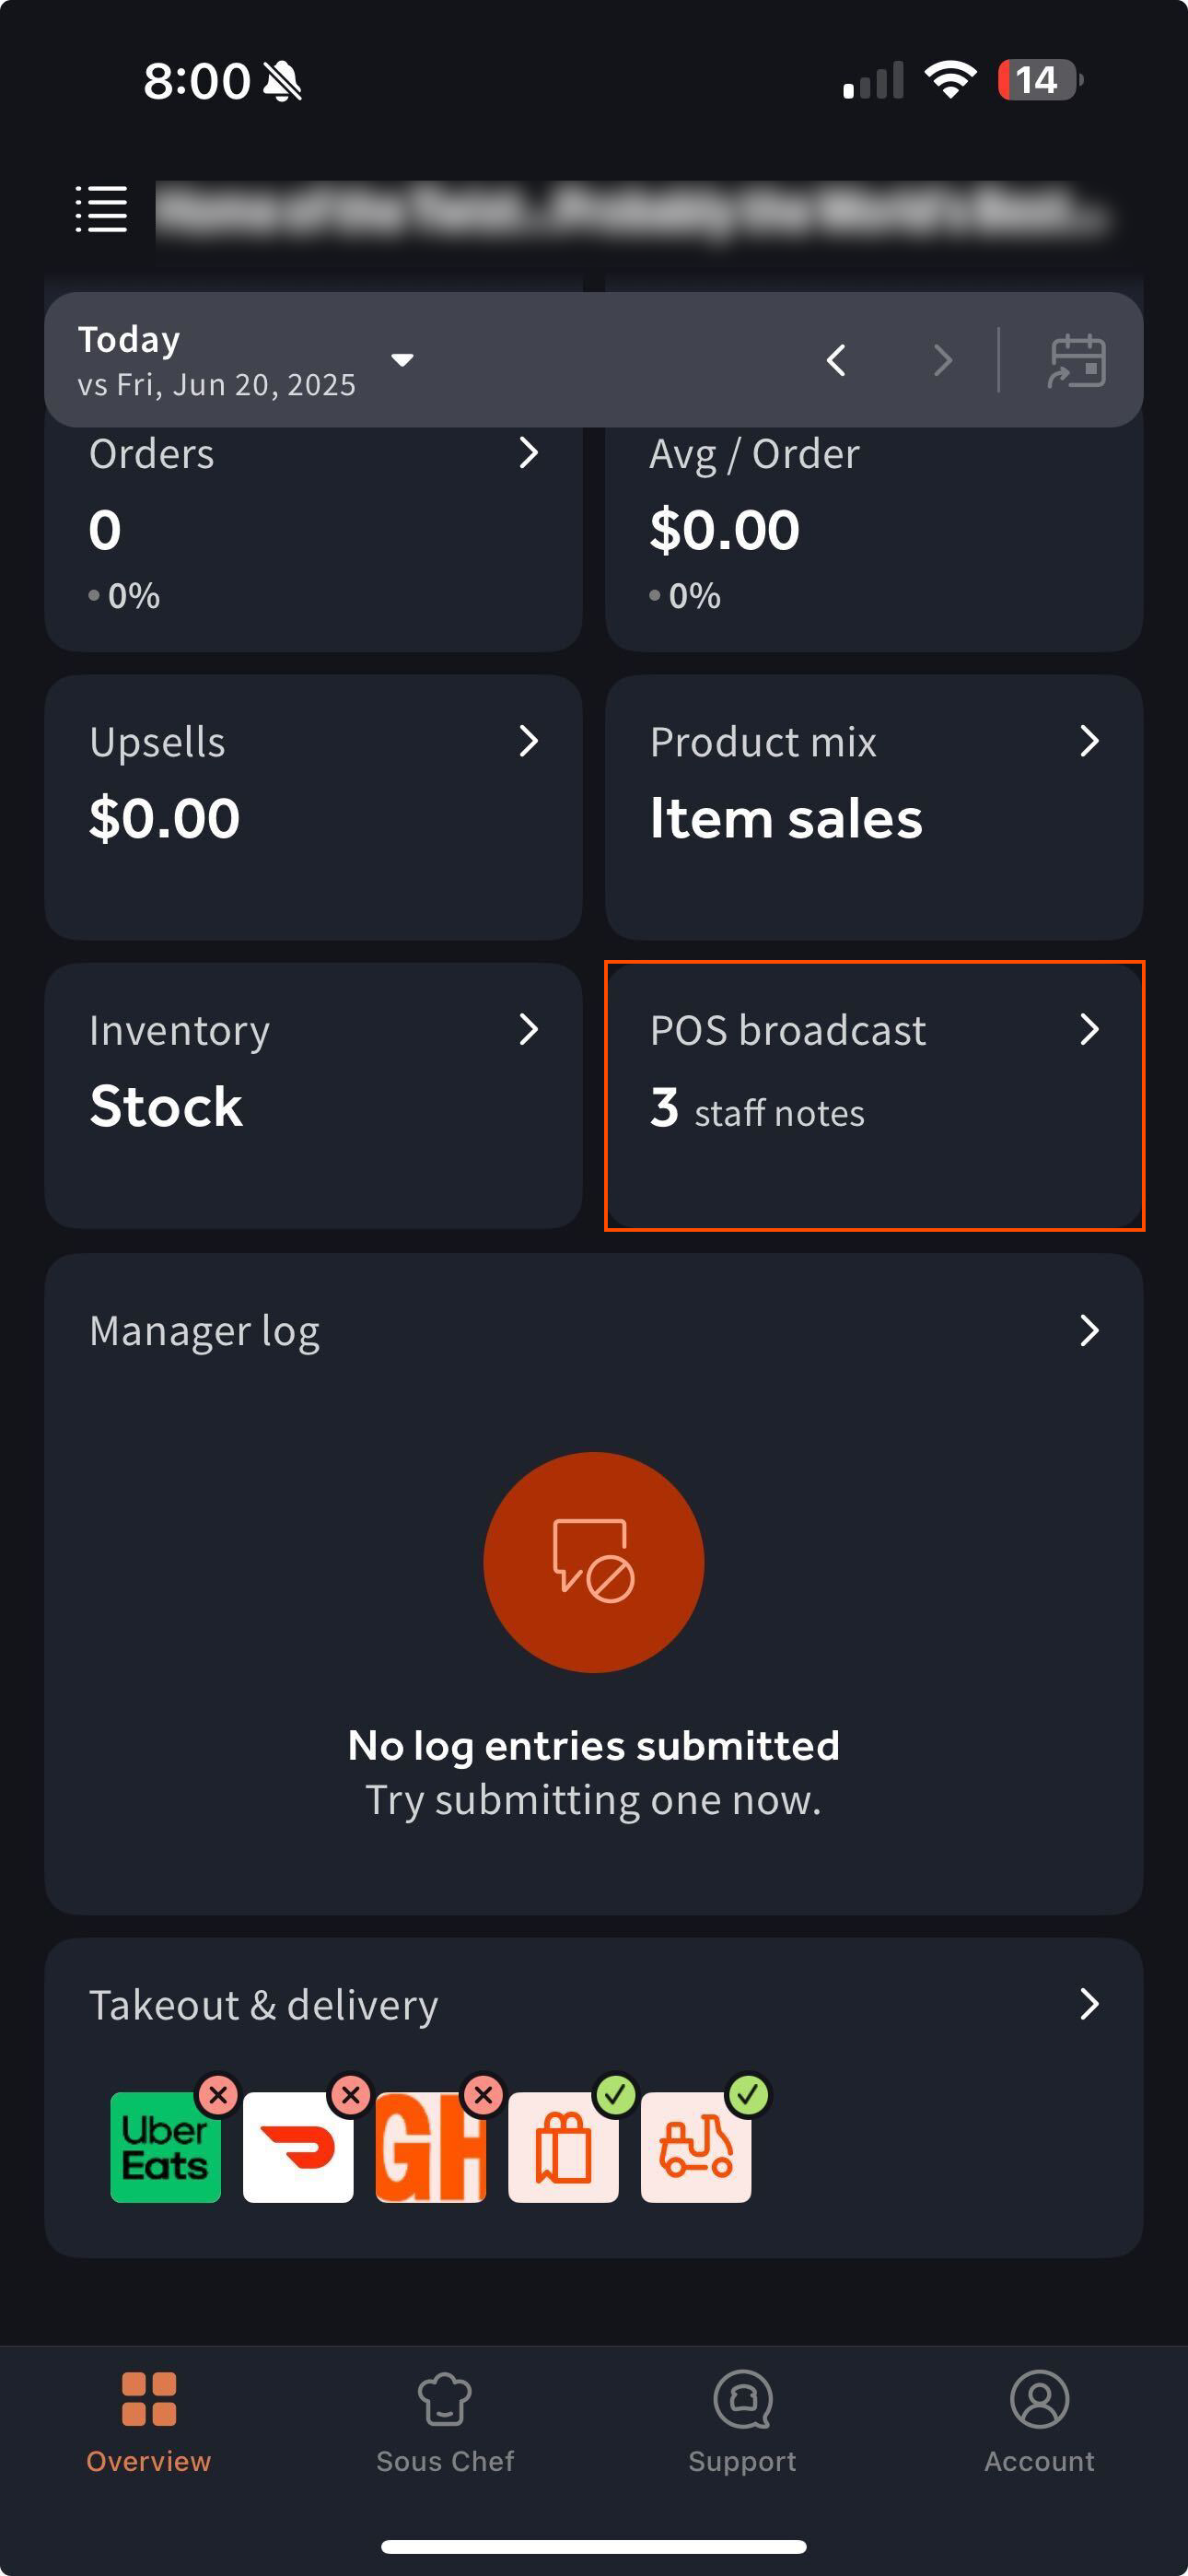
On the Toast Now app, select the Overview tab on the bottom navigation.
-
Select the POS Broadcast tile. The POS Broadcast tile shows the number of staff notes sent. This opens the POS Broadcast screen.
-
On the POS Broadcast screen, select the Staff notes section to open the Staff notes screen.
-
On the Staff notes screen, select the + Add staff note button. This opens the New staff note screen.
-
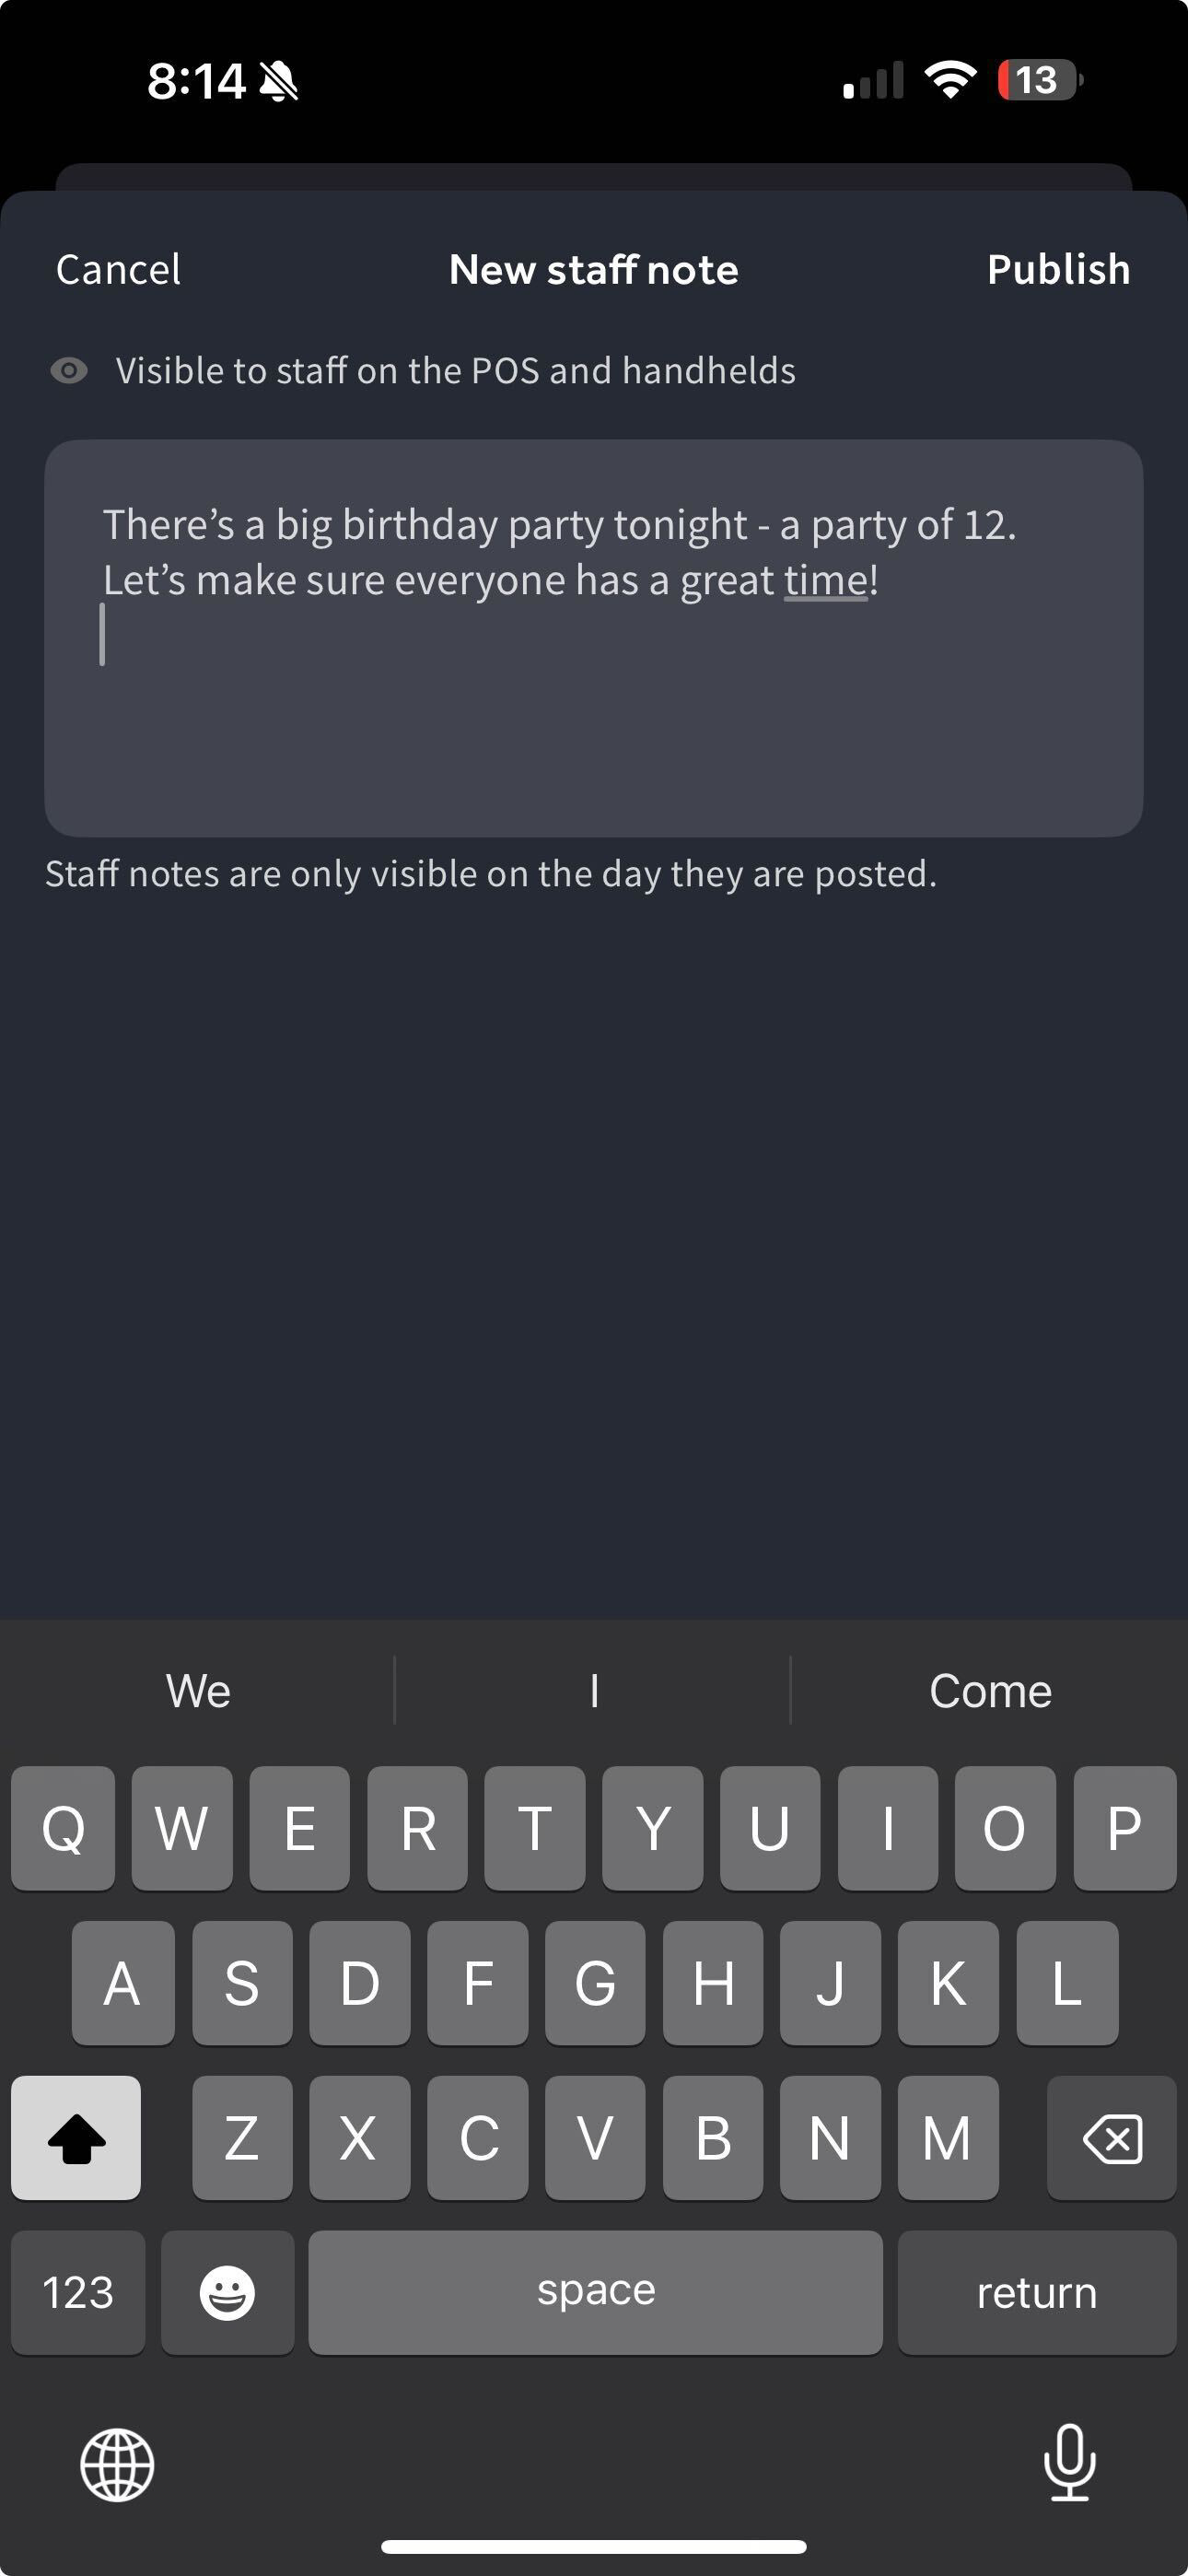
On the New staff note screen, create a note that will be visible to staff on Toast POS devices. You can create multiple staff notes.
Note
Staff notes are only visible for the day they are published.
-
Select the Publish button to publish your note. A dialog appears asking you to confirm if you want to publish your note.
-
Select the Broadcast message button to publish and send your note or the Go back button to go back to the previous screen.
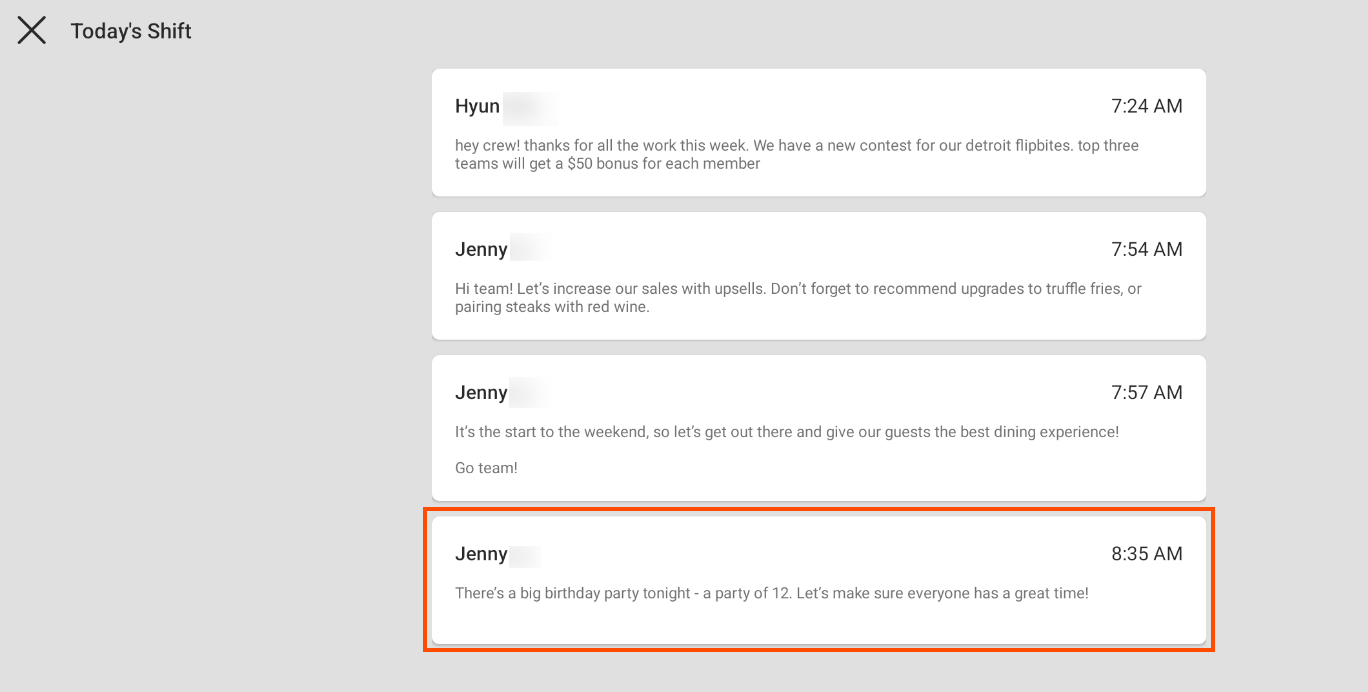
The published note appears on the Staff notes screen on the Toast Now app, and on the Today's Shift screen on Toast POS devices, with the following information available:
-
Manager name
-
Time the note was published and sent
-
You can choose to schedule staff notes to be published on a future date. You can create a staff note up to seven days into the future. Scheduled notes are available to view starting at 4:00 AM on the publish date.
Scheduling notes gives you the flexibility to write and send notes at your own convenience. Schedule future notes to announce celebrations, to help plan for big events, or to coordinate restaurant operations.
To schedule a staff note
-
On the Staff notes screen, select the + Add note button. This opens the New staff note screen.
-
On the New staff note screen, create a note that will be visible to staff on Toast POS devices.
-
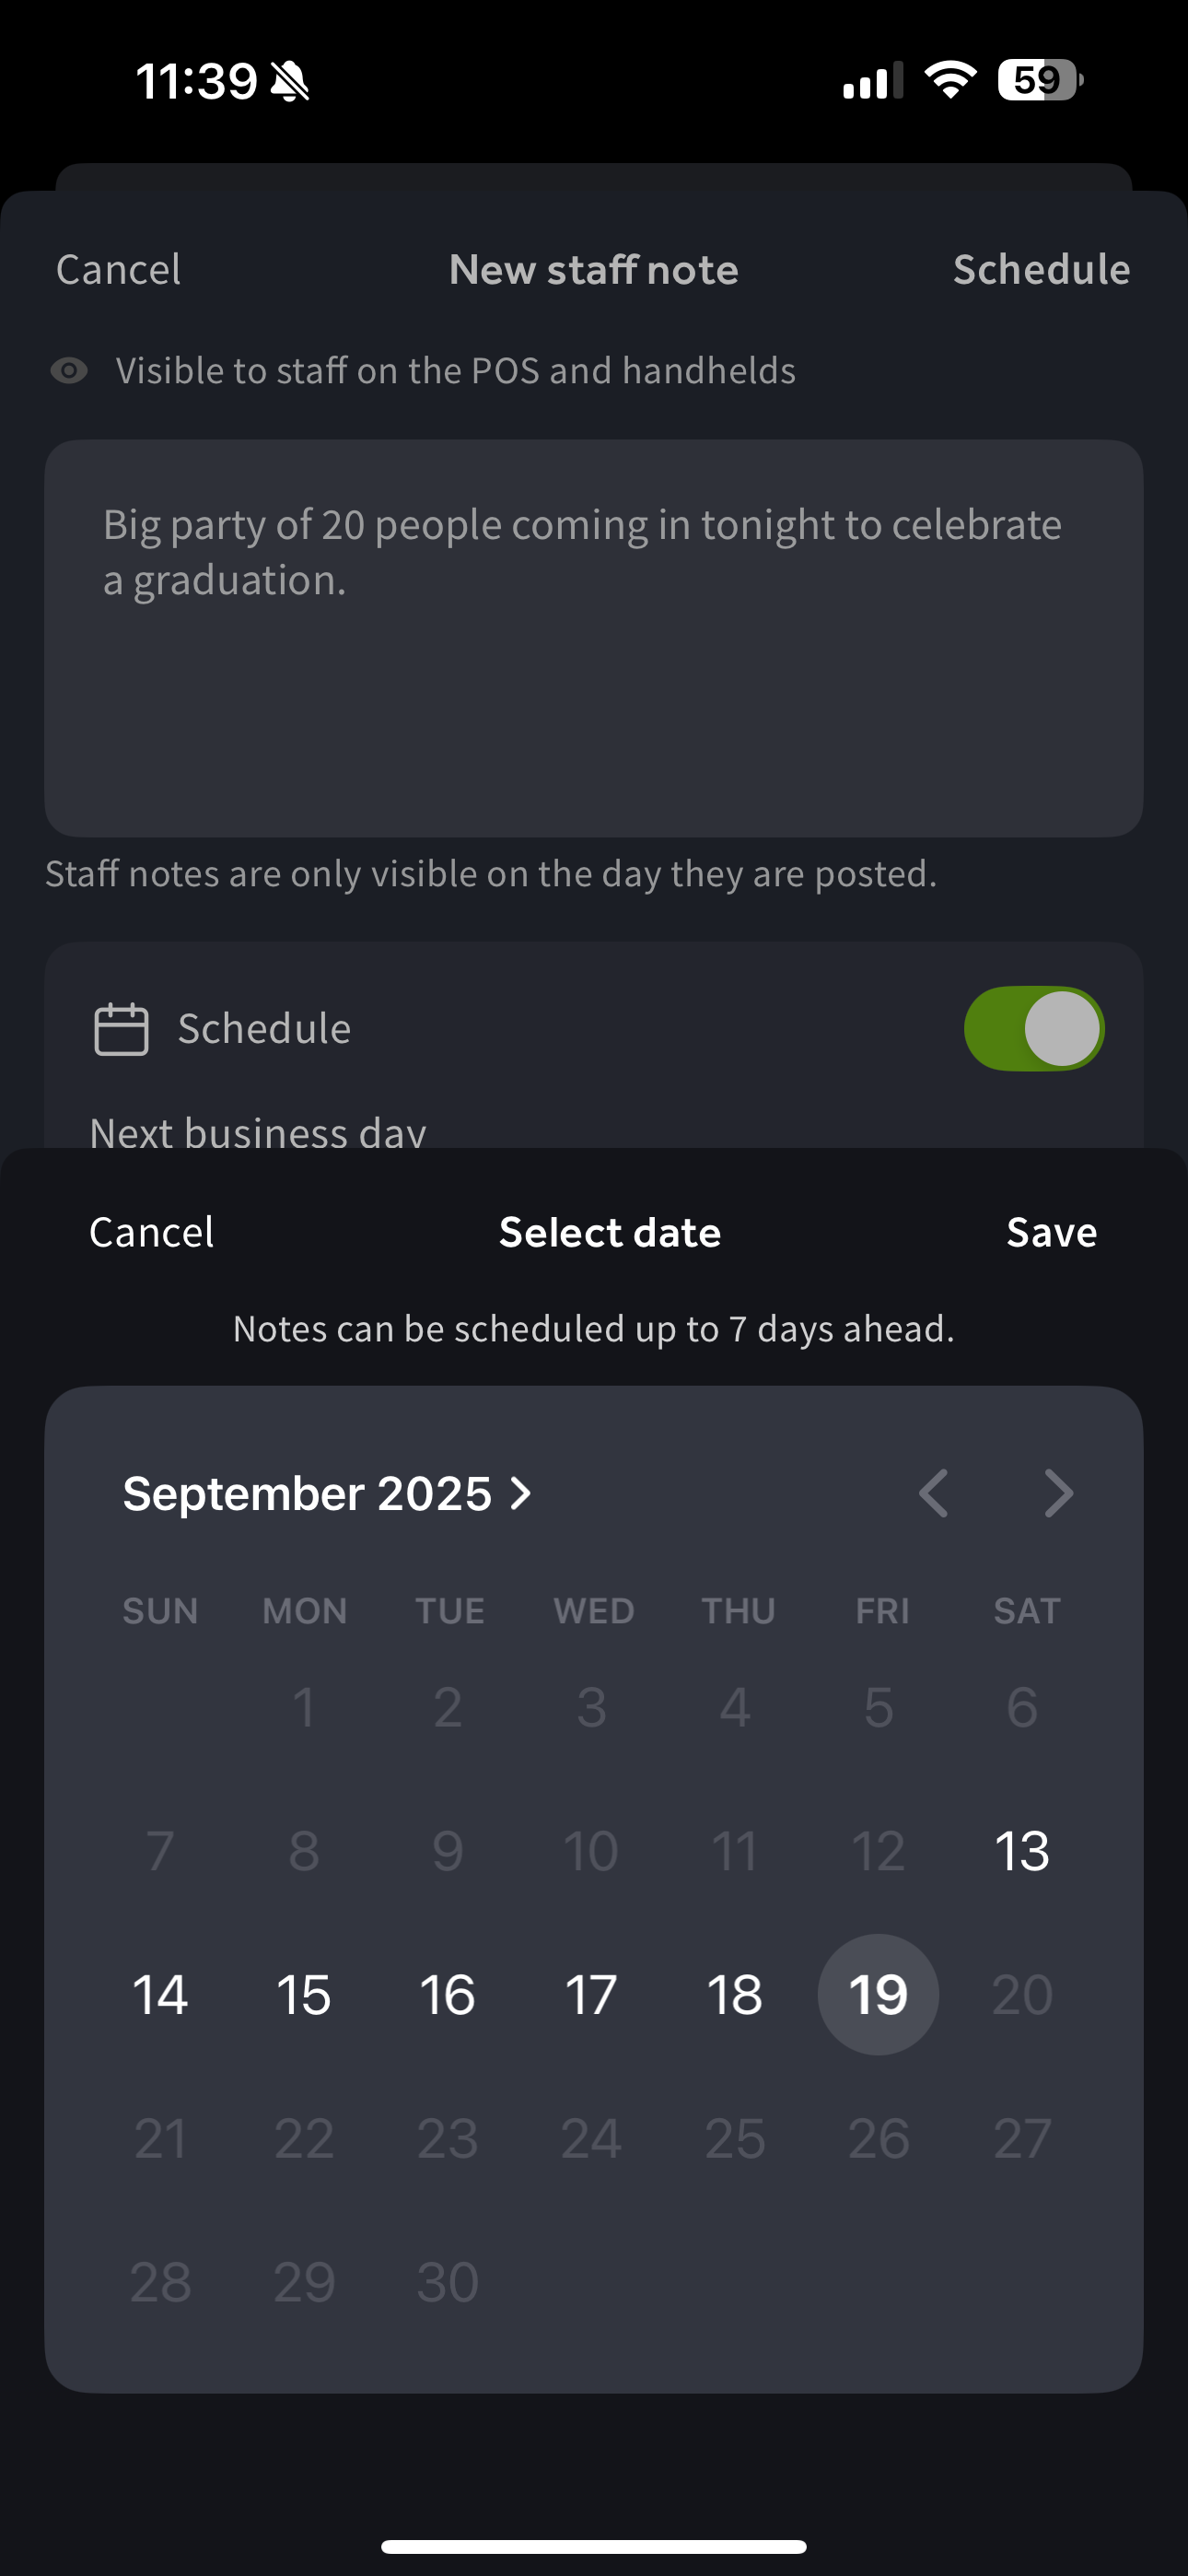
Select the Schedule setting and toggle the setting to On. This opens scheduling options.
-
Select your publish date. You can choose either:
-
Next day
-
Custom. This opens a date picker where you can select a date seven days into the future.
-
-
Select the Save button or click out of the date picker to save your changes.
-
Select the Schedule button to schedule your note. A dialog appears asking you to confirm if you want to schedule your note.
-
Select the Schedule note button to schedule your note or the Go back button to go back to the previous screen.
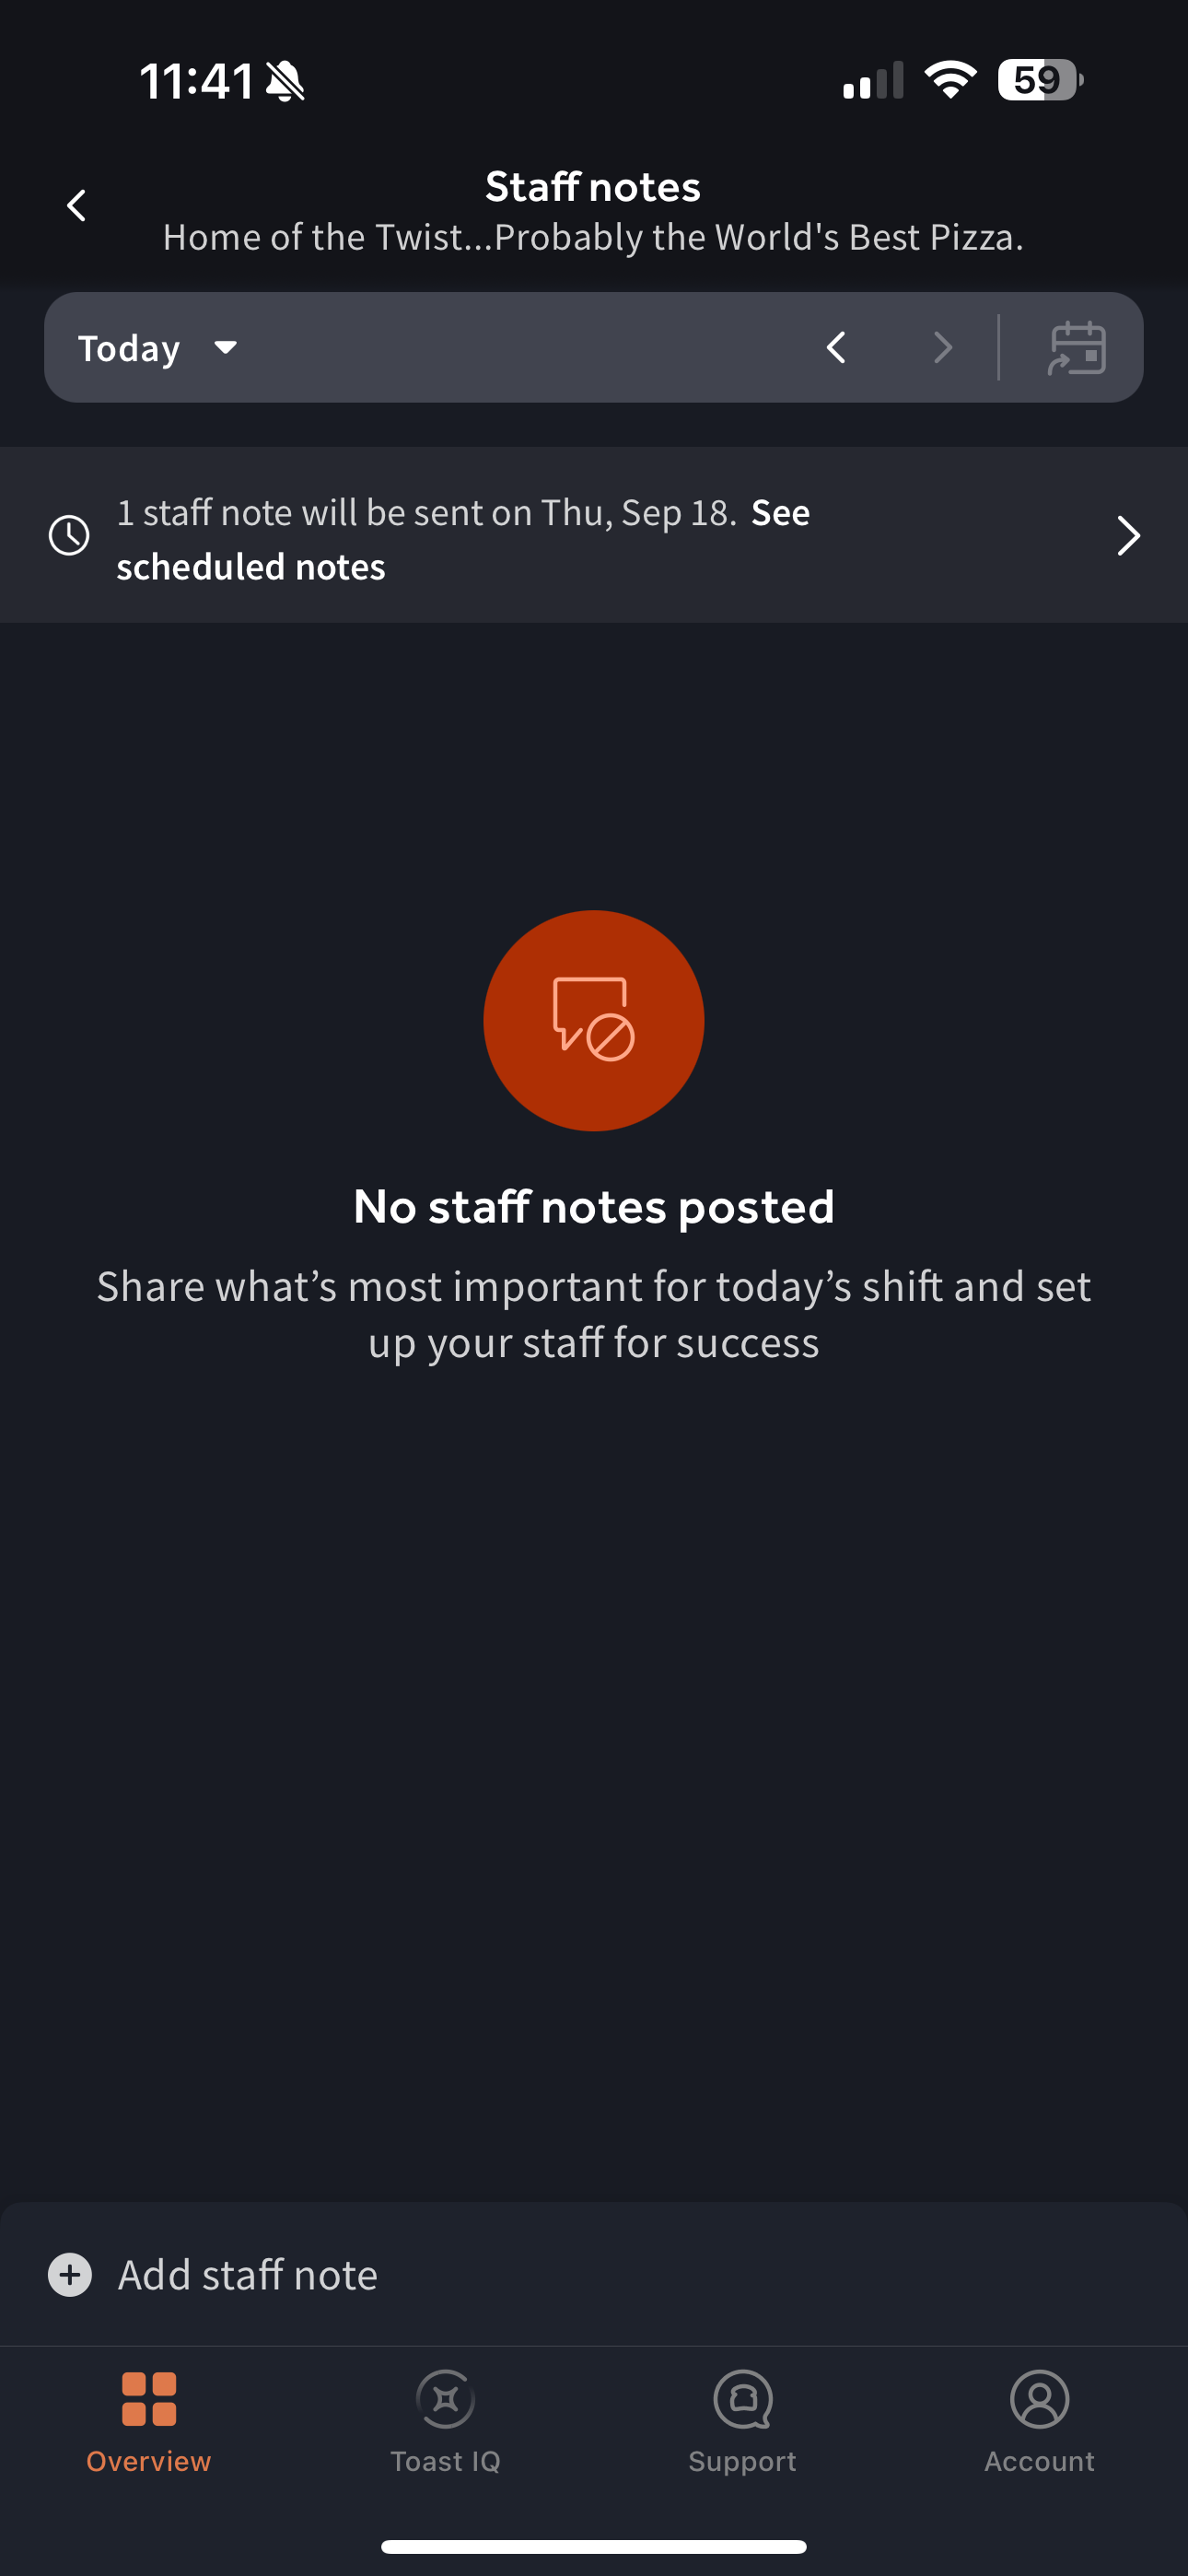
A banner appears on the Staff notes screen with a clock icon indicating that a staff note is scheduled for the future.
On the Staff notes screen, you can edit a staff note.
To edit a staff note
-
On the Staff notes screen, select the staff note. This opens the staff note.
-
Select the pencil icon to edit the staff note. This opens the Edit staff note screen.
-
Edit the staff note and then select the Save button to save your changes. To discard your changes, select the Cancel button or pull down on the screen.
On the Staff notes screen, you can delete a published or scheduled staff note.
To delete a published staff note
-
On the Staff notes screen, select the staff note.
-
Press and hold down on the note. This opens a dialog with options to edit or delete the staff note.
You can also choose to select the staff note to open the Edit staff note screen where you can delete the note.
-
Select the Delete staff note button to delete the note. A dialog appears asking you to confirm if you want to delete the note.
-
Select the Delete button to delete the staff note.
To delete a scheduled staff note
-
On the Staff notes screen, select the scheduled staff note.
-
Press and hold down on the note. This opens a dialog with options to edit or delete the staff note.
-
Select the Delete staff note button to delete the note. A dialog appears asking you to confirm if you want to delete the note.
-
Select the Delete button to delete the staff note.