|
Note |
|
You must have the 4.11 House Accounts permission to use the subscription plans by Toast feature. For more information, see Web setup access permissions. |
The subscription plans by Toast feature allows restaurants to set up curated subscription plans for their products. For example, you can create a subscription plan for a monthly whiskey tasting or for a quarterly matcha delivery. Subscription plans benefit guests by providing uninterrupted access to products, and it benefits restaurants by providing predictable recurring revenue and strengthening brand and customer loyalty.
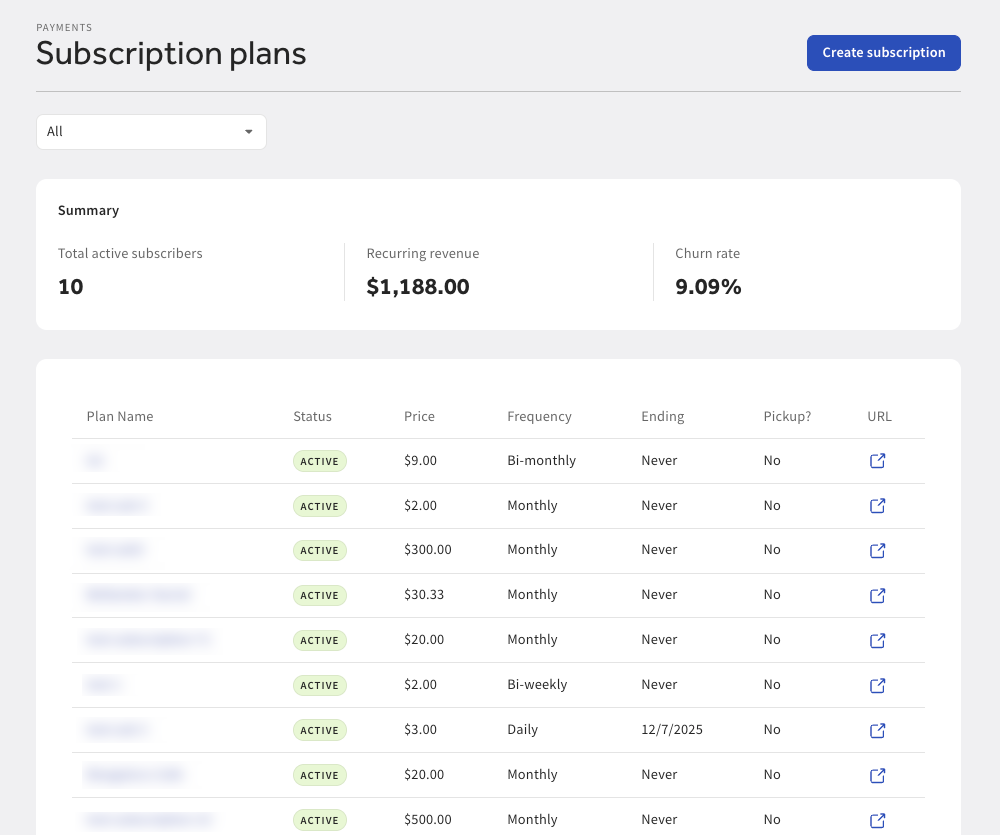
You can view and manage your subscription plans on the Subscription plans page in Toast Web. Go to Finance > Payments > Subscription plans to open the Subscription plans page.
On the Subscription plans page, you can:
-
Create a new subscription plan
-
View all your subscription plans or filter them by status:
-
Active
-
Paused
-
Inactive
-
-
View a summary of your subscription plans, including:
-
Total number of active subscribers
-
Total amount of recurring revenue
-
Subscription plans cancellation rate
-
-
View subscription plan details, including:
-
Subscription plan name
-
Status of subscription
-
Live
-
The subscription plan is live and accepting new subscribers
-
The subscription plan is live, but has reached the maximum subscriber count or is sold out
-
The subscription plan is live, but is not accepting new subscribers
-
-
Ended
-
The subscription plan has ended
-
-
-
Subscription plan end date (if applicable)
-
Subscription plan sign-up status:
-
Open: Accepting new subscribers
-
Closed: Not accepting new subscribers
-
-
Number of active subscribers
-
Price of the subscription plan
-
Billing frequency for the subscription plan:
-
Daily
-
Bi-weekly
-
Monthly
-
Quarterly
-
Annually
-
-
Subscription plan’s URL link
-
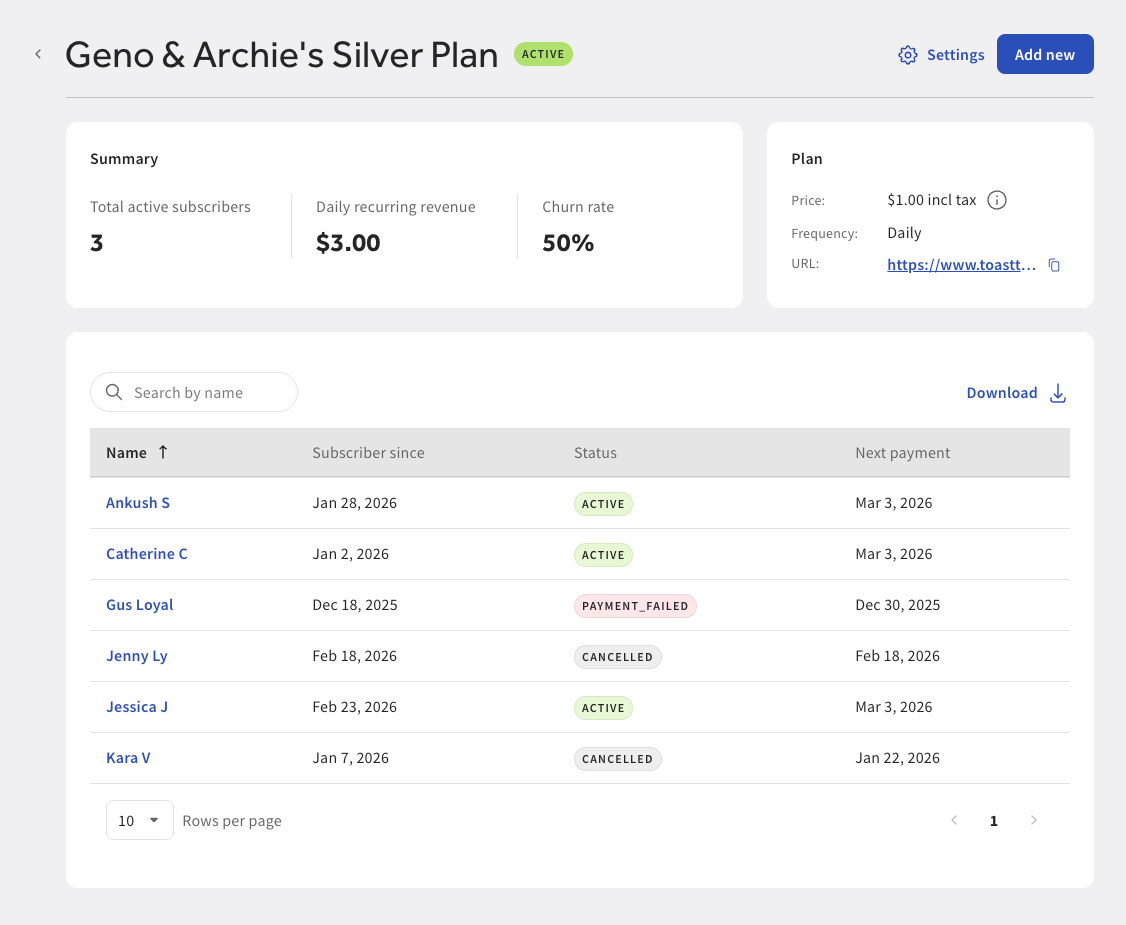
To view subscription plan details, select the subscription plan on the Subscription plans page. This opens the Subscription plan page. On the Subscription plan page, you can view subscription plan details and complete the following actions:
-
Access the Settings link
-
Add a new subscription plan
-
View key metrics, including:
-
Number of active subscribers out of the maximum subscriber count
-
Total amount of recurring revenue
-
Subscription plan cancellation rate
-
-
View subscription plan summary, including:
-
Subscription plan status
-
Subscription plan sign-up status
-
Subscription plan price
-
Link to view the subscription plan website
-
Subscription plan billing frequency
-
-
Search for a subscriber
-
Download a .CSV file of your subscription plan subscribers
-
View subscriber details, including:
-
Subscriber name
-
The date the subscriber joined the subscription plan
-
The status of the subscriber
-
Active
-
Canceled
-
Paused
-
Payment failed
-
-
The next subscription plan payment date
-
To manage or change your subscription plan’s settings, select the Settings link at the top of the Subscription plan page. This opens the Settings page. On the Settings page, you can:
-
Manage subscription plan availability
-
Enable the Accept new subscribers setting
-
-
Update subscription plan basics:
-
Change the subscription plan name
-
Change the subscription plan price
-
Choose if the subscription plan will charge tax
-
Choose the tax rate. For more information, see this Toast Support article.
-
-
(Optional) Choose if the subscription plan is a limited time plan
-
-
Update subscription plan benefits:
-
Add or update existing benefits
-
Choose if pick up is required for the subscription plan
-
Choose if you want to collect subscriber addresses for shipping and mailing purposes
Note
If you enable this setting, new subscribers must provide their mailing address when they subscribe to your plan. The subscriber's address is displayed on the Subscriber page.
-
-
Update subscriber plan billing details:
-
Choose the billing frequency
-
Select the billing date:
-
Choose to bill on a scheduled date or on the subscription plan start date
-
-
-
Update subscriber management information:
-
Choose how many days a subscriber has to resolve a failed payment
-
(Optional) Choose to set a maximum subscriber count
-
(Optional) Choose to allow subscribers to skip upcoming payments
-
-
Edit subscription plan website content:
-
Edit the subscription plan description
-
Manage subscription plan images
-
Edit subscription plan FAQs
Note
You can choose to embed a link to an external site. To embed a URL, use the following format: [text](https://www.example.com)
-
Manage subscription plan website styling
-
-
Manage subscriber identification details:
-
Add a guest tag and color. The tag is used to identify subscribers in Guestbook and the Toast POS.
-
Add a subscriber icon
-
Add a subscriber short code
-
Choose the subscriber visibility
-
-
Manage subscription plan reporting:
-
Assign a revenue center
-
Assign a sales category
-
-
Share your subscription plan:
-
Copy a link to the subscription plan website
-
Select a link to open the Toast email marketing product website
-
Download a scannable QR code for your subscription plan
-
Select the Save button to save your changes.
|
Note |
|
Currently, you can only create one new subscription plan at a time. |
You can choose to add a new subscription plan by selecting the Add new button on the Subscription plan page. From the dropdown menu, select the Subscription plan button to open the Toast Subscription plan page where you can configure a new subscription plan or continue editing a subscription plan.
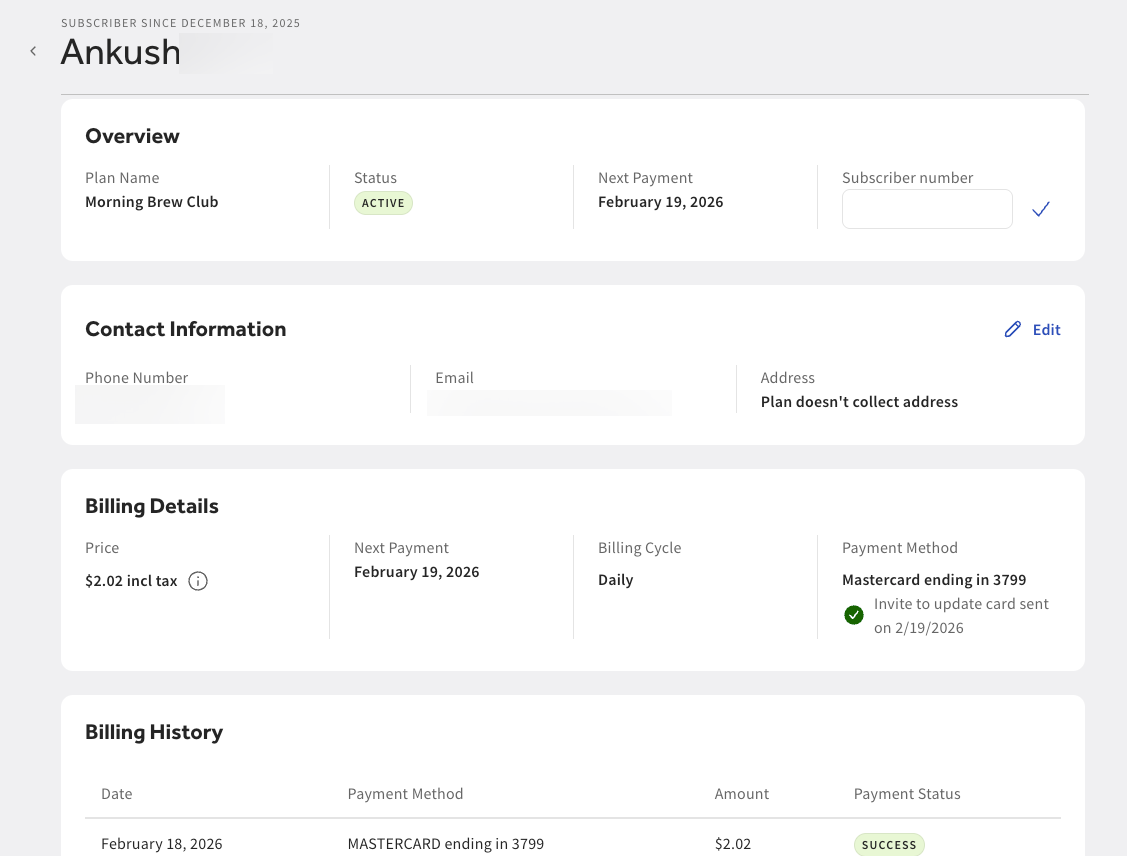
From the Subscription plans page, you can view and manage subscriber details. Select the subscriber name to open the Subscriber page. On the Subscriber page, you can:
-
View the subscription plan start date for the subscriber
-
View an overview of subscription plan details, including:
-
Subscription plan name
-
Subscription plan status
-
Next subscription plan payment date
-
Subscriber number
-
-
View and edit subscriber contact information, including:
-
Subscriber phone number
-
Subscriber email address
-
Subscriber address if the subscription plan collects addresses
-
Access the Edit link
-
-
View and edit subscription plan billing details, including:
-
Subscription plan price
-
Next subscription plan payment date
-
Subscription plan billing cycle
-
Payment method linked to the subscription plan
-
Link to send an email to the subscriber to update their payment method
-
-
View subscriber billing history, including:
-
Date of last payment
-
Payment method
-
Amount paid
-
Payment status
-
|
Important |
|
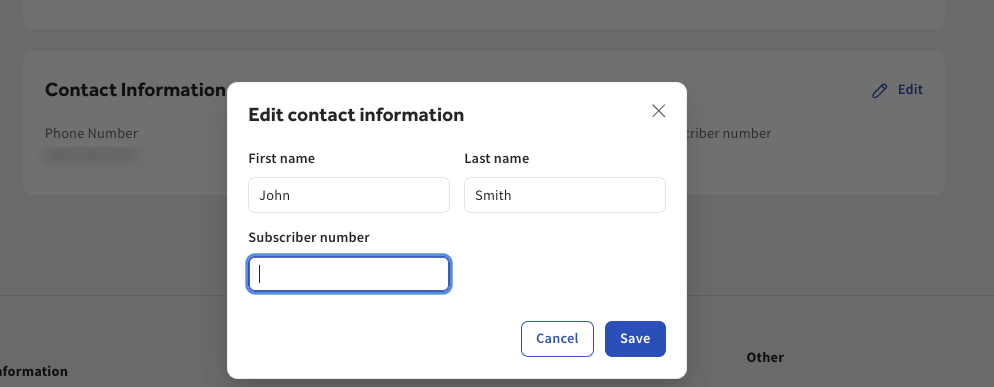
Only subscribers can edit their phone number or email address as updating the information requires two-factor authentication (2FA). |
To edit subscriber contact information, go to the Subscriber page in Toast Web. Select the Edit link in the Contact information section to open the Edit contact information dialog where you can edit:
-
Subscriber first name and last name
-
Mailing address
Select the Save button to save your changes.