You must enable location-specific pricing on the details page for a menu item. After you do so, you can edit the location-specific prices either on the Price editor page or on the menu item's details page.
|
Note |
|
If you have many locations, the Price editor page can slow down and you may have to edit your location-specific prices on the menu items' detail pages instead. |
To enable location-specific pricing for a menu item
-
Choose Menus > Bulk management > Advanced properties to open the Advanced properties page.
-
Use the You are viewing menu to filter the page so that you see the menu that contains the menu item you want to set location-specific prices for.See Filtering pages for information on the You are viewing menu.
-
Expand the menu and menu groups as needed to locate the menu item, then click the menu item's name to view its details page.
-
In the Pricing section, enable Location Specific Price. The Location Prices table appears with an entry for the first location-specific price. Toast support recommends specifying a price for the top-level restaurant group for this first entry so that any given location will have at least the corporate price to draw from in the event that a more specific price is not specified. To do so, make sure the top-level restaurant group is chosen in the Location column and enter a price in the Price column.
-
Click Save.
-
Follow the next procedure to set additional location-specific prices for the menu item.
To set location-specific prices for a menu item using the Price Editor
-
Choose Menus > Bulk management > Price editor to open the Price editor page.
-
The You are viewing menu retains the settings you specified in the previous procedure, so the menu item should be available to edit on this page. To make it easier to find location-specific prices on the Price editor page, you can also click the All Strategies menu and choose Location Specific Price.
-
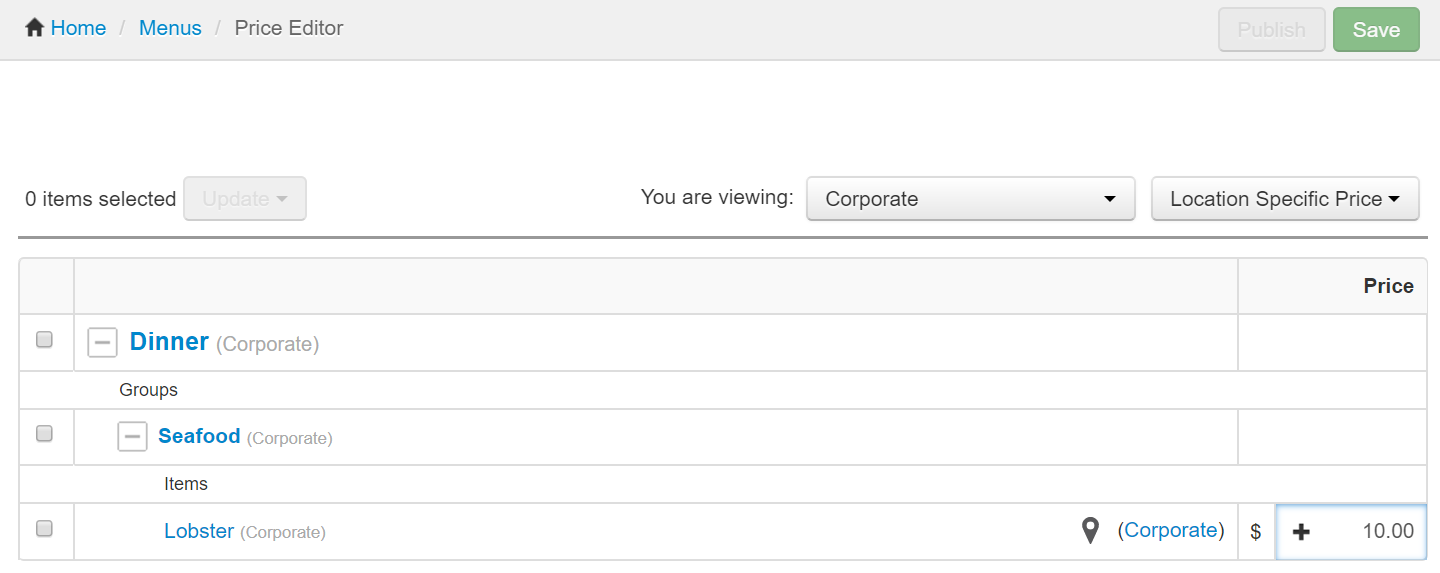
Expand the menu and menu groups as needed to locate the menu item you enabled location-specific pricing for. Location-specific prices are marked with a location symbol and the name of the restaurant group or location that the price applies to, for example:
-
Click in the Price field for the initial location-specific price and enter a price.
-
Hover your mouse over the Price field for the target to see the plus sign, then click the plus sign to add a new location-specific price.

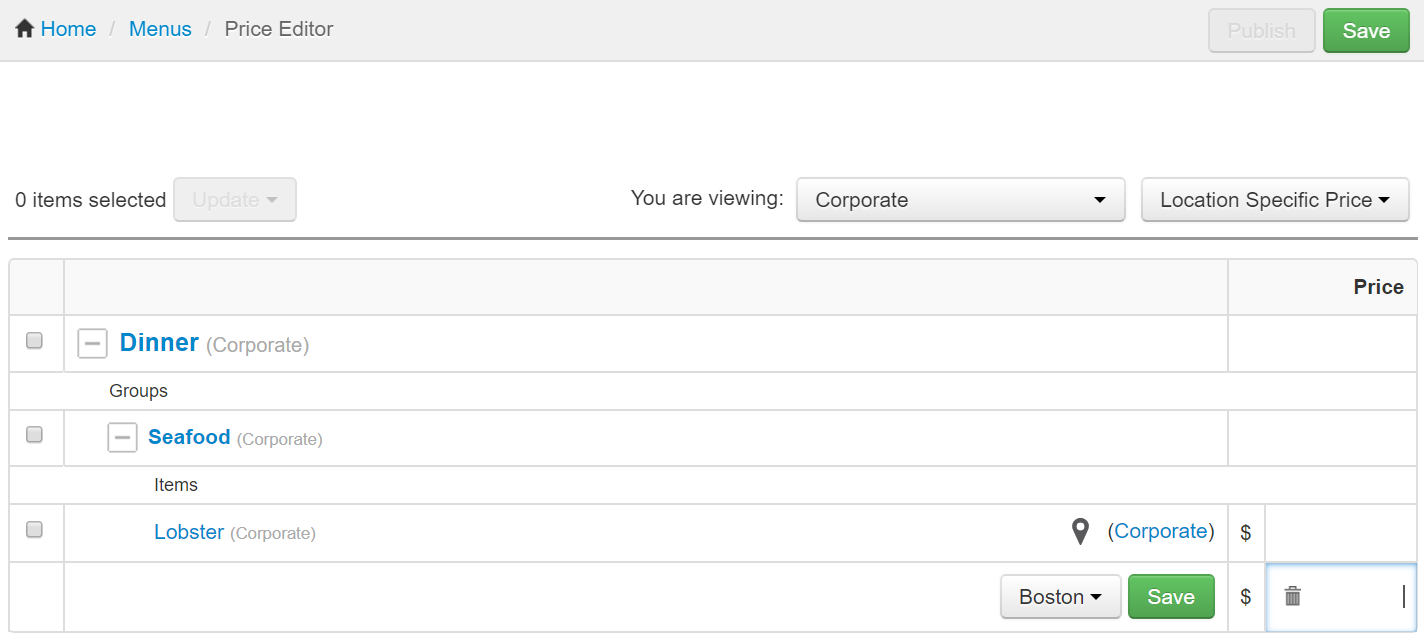
A new row is added to the table.

-
Choose a restaurant group or location from the drop-down list, enter a price for the group/location, and click the Save button in the table. Note that the locations and restaurant groups you see in this drop-down list are limited by the selections you made in the You are viewing menu.
-
Repeat these steps to add location-specific prices for any restaurant groups or locations that require them.
-
Click the Save button at the top right of the Price editor page.
-
Publish your changes using the Publish config page. See Publishing changes for multiple locations for information on accessing and using that page.
The Toast platform maintains your location-specific price configuration for you, even if you change the pricing strategy for an item. In other words, if you switch the pricing strategy of a menu item from Location Specific Price to some other strategy, and then switch back, the location-specific prices you originally specified will still be available.