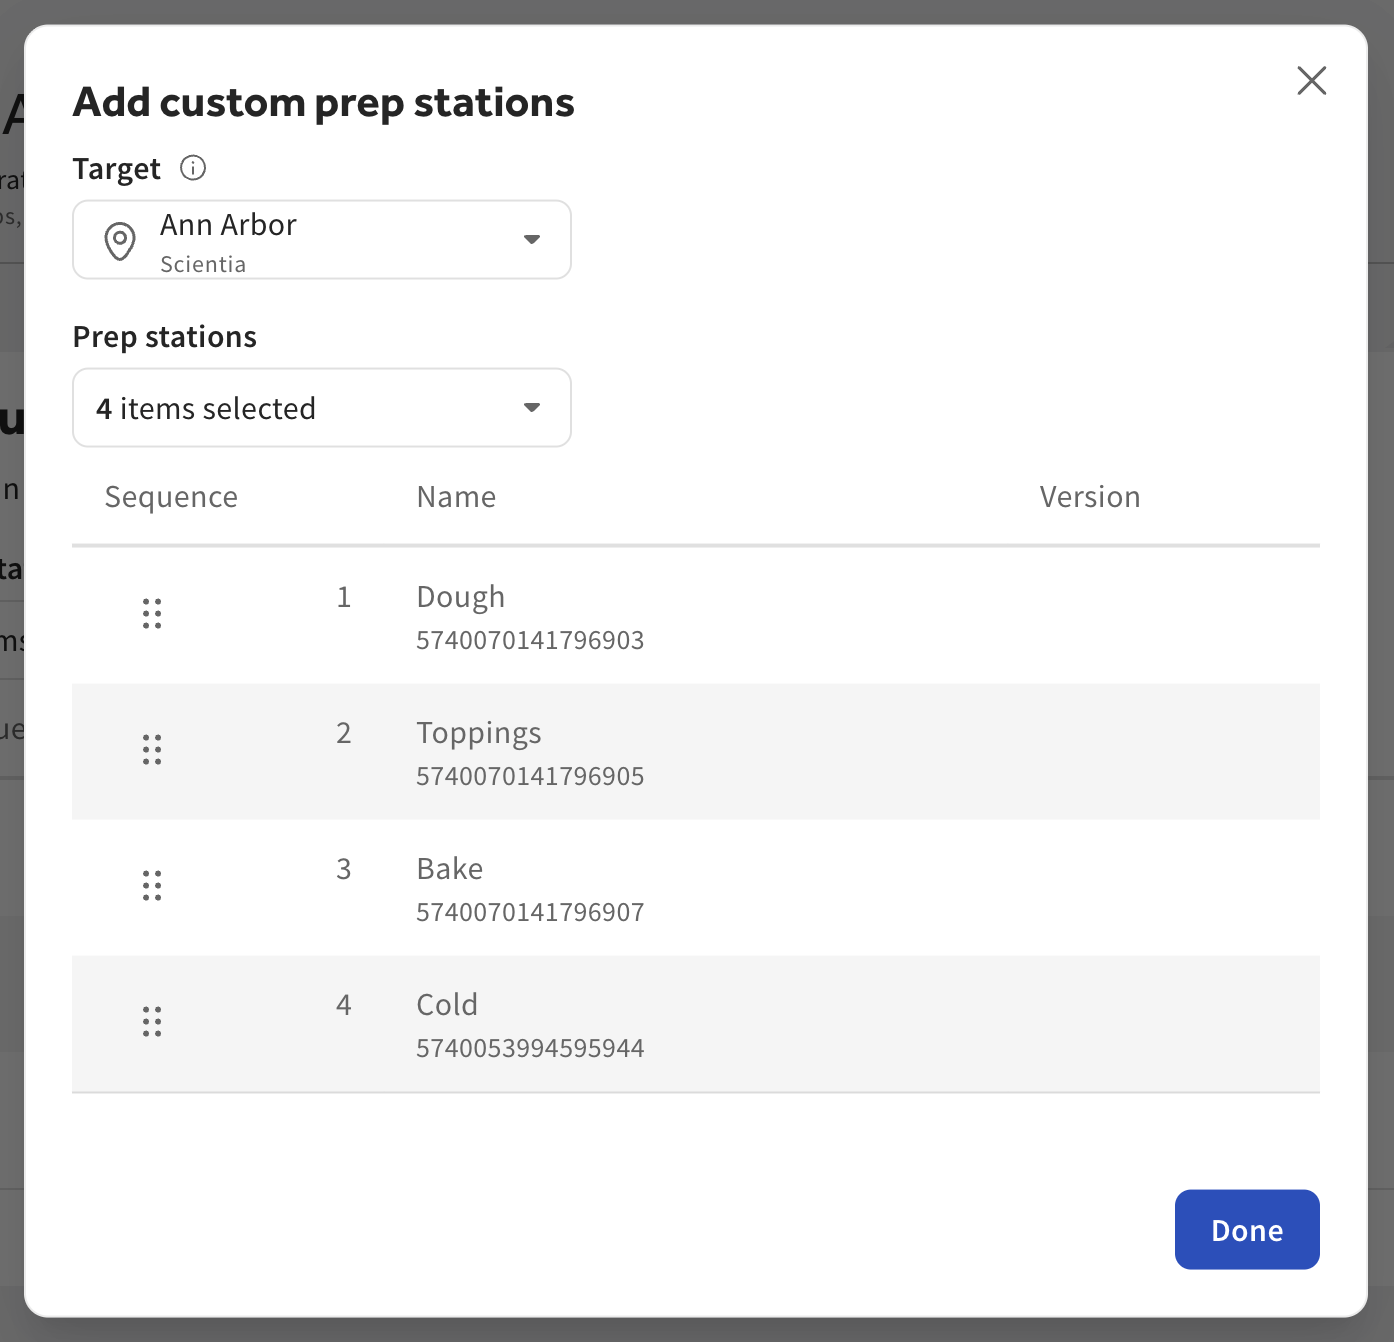
If you use an assembly line at multiple locations, but need to adjust the assembly line at a specific location or location group, you can do so using overrides. For example, for the Corporate location group, you create an assembly line, named Pizza A, for making pizzas and assign it to the Pizza menu group. It uses the Dough, Toppings, and Bake prep stations. However, at the Ann Arbor location, they have a Fig and Arugula pizza, which also goes to the Cold prep station after the Bake prep station. The Ann Arbor location needs a customized assembly line that includes the Cold prep station as the last prep station in the assembly line. The Ann Arbor location can be configured to use the custom assembly lines, while all other locations use the default assembly lines. For more information about overrides, see Overrides. For more information about assembly lines, see Routing using assembly lines and Creating an assembly line.
|
Note |
|
The following procedures assume that you already have an assembly line created. |
To create an override for an assembly line, you need permission to edit assembly lines for the location or group that the assembly line applies to. For example, you want to add an override to the Pizza A assembly line at the Baltimore location, which belongs to the Corporate group. To add an override for a Baltimore location, you need edit permissions for the Corporate group.
To create a custom assembly line
-
Go to Kitchen > Kitchen stations > Assembly lines. The Assembly lines page opens.
-
Go to the edit page for an assembly line. To do this, you can either:
-
Start creating a new assembly line by selecting the Add new button. For more information, see Assembly lines for multi-location restaurants.
-
Choose to edit an existing assembly line by selecting the name of the assembly line or Edit from the overflow menu (the ⋮ icon).
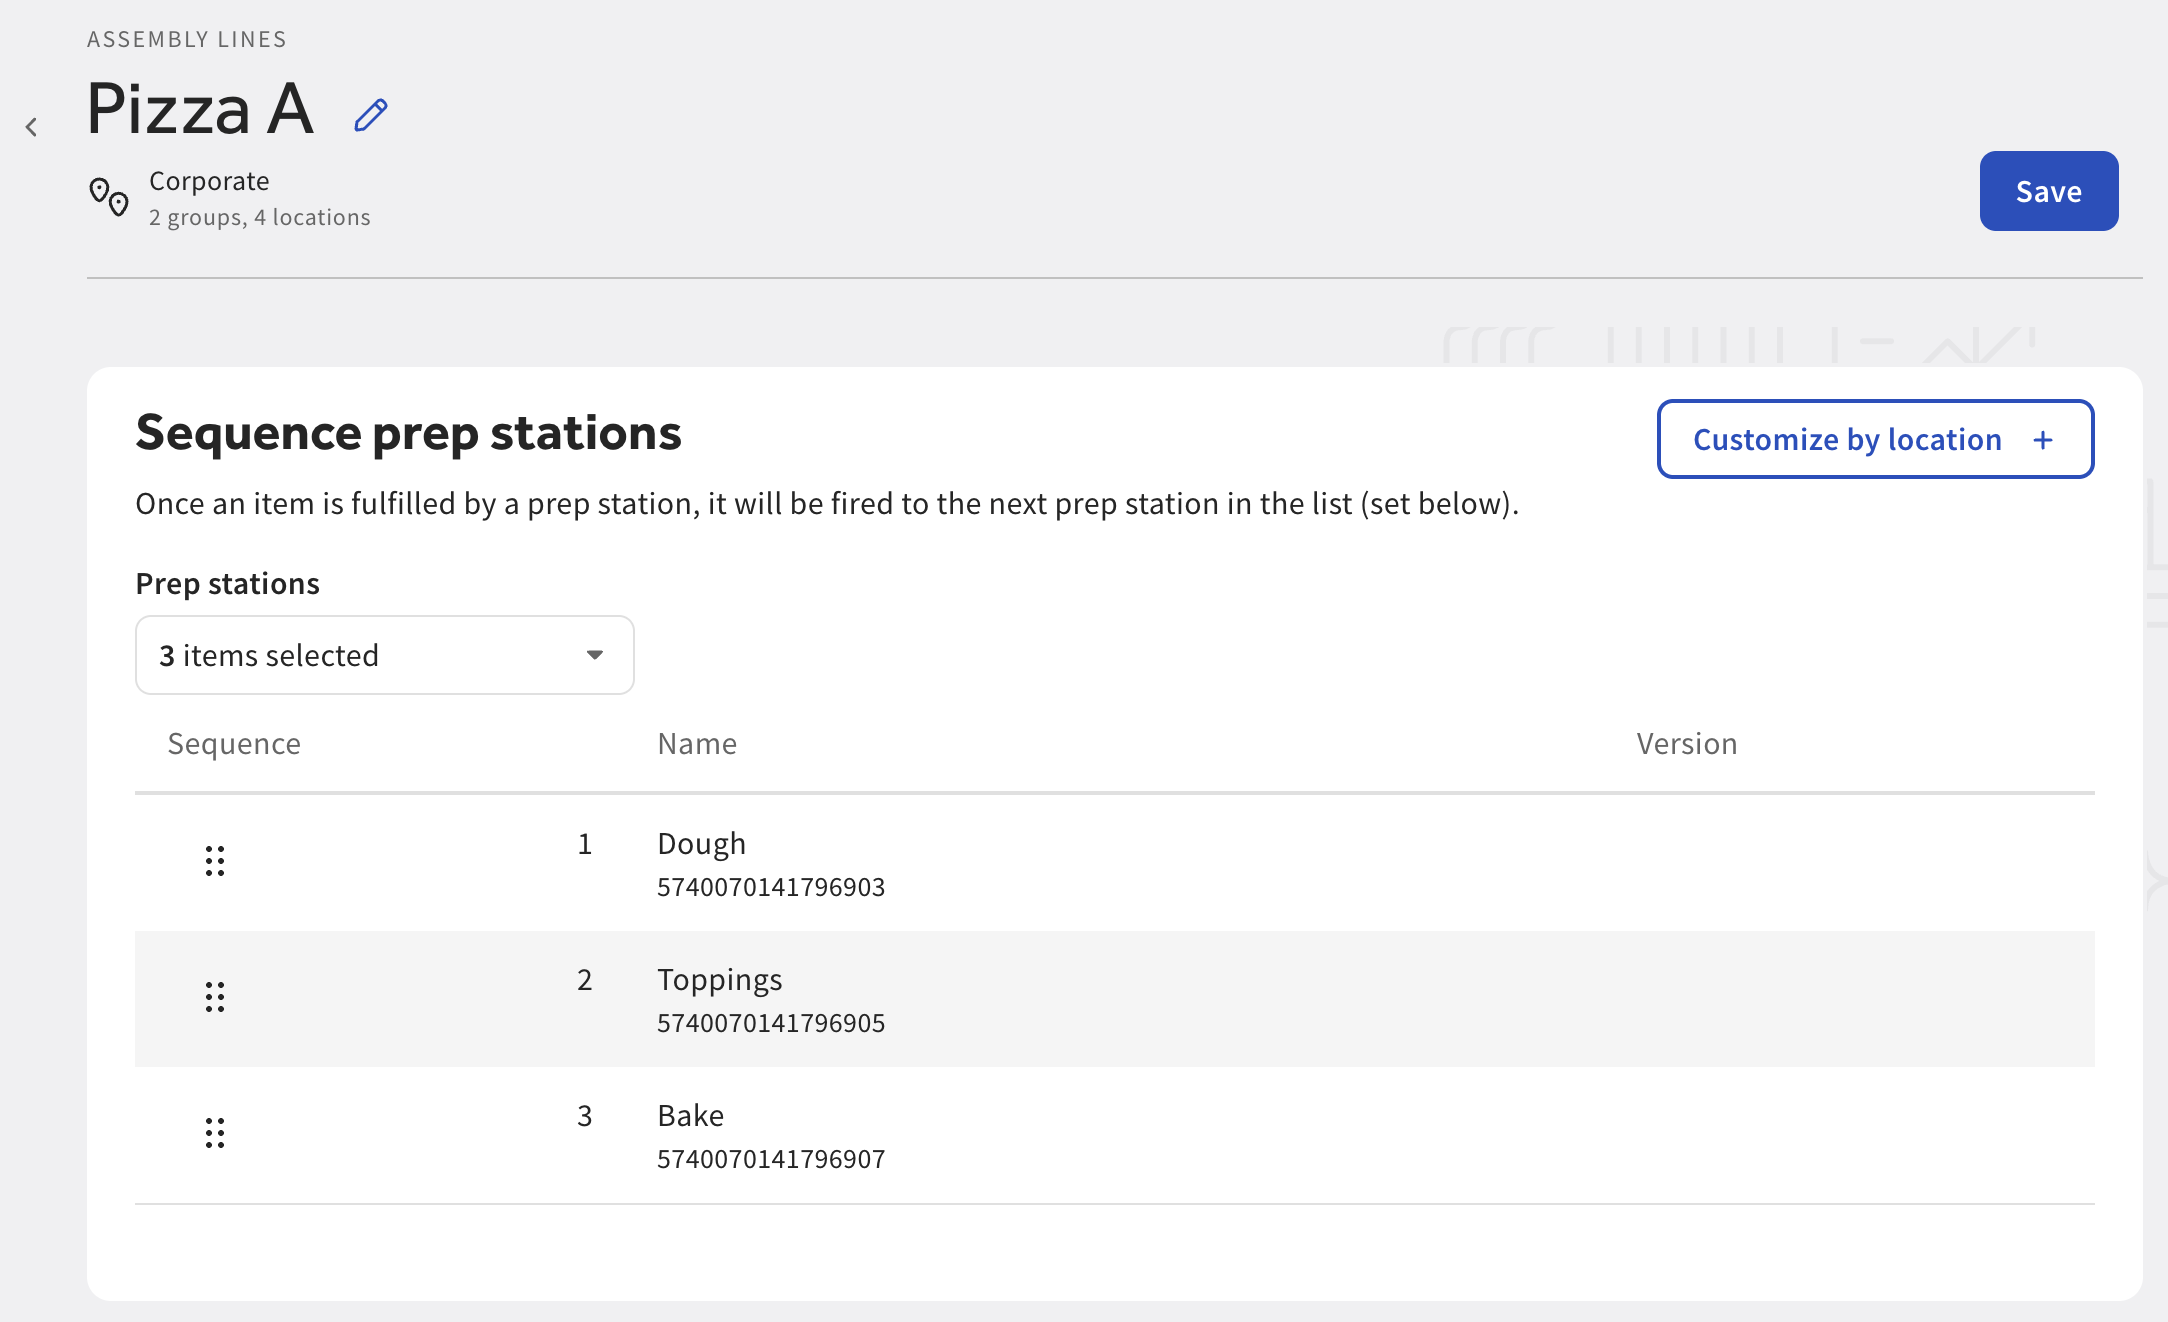
-
-
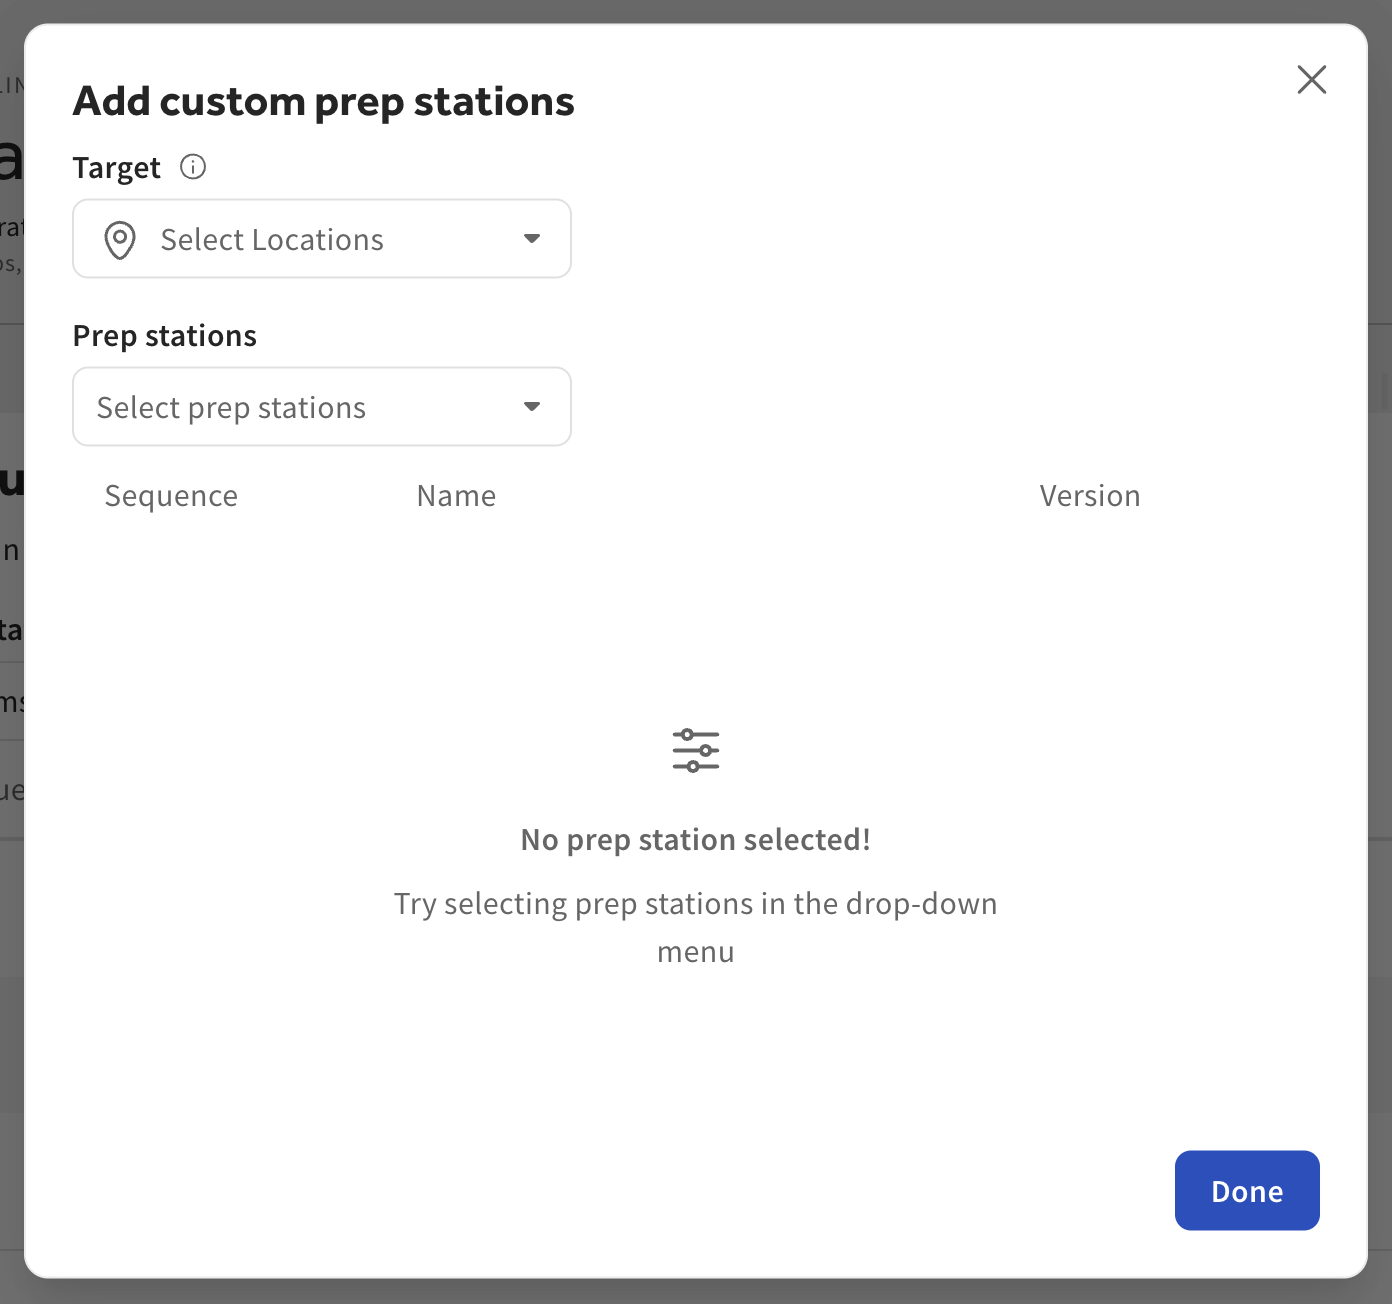
Select the Customize by location + button. The Add custom prep stations dialog opens.
-
For the Target setting, use the Select locations dropdown menu to select the location or location group that will use this custom assembly line.
Note
The location or location group that uses the override must belong to the location or location group applies to the assembly line.
-
For the Prep stations setting, use the Select prep stations dropdown to select the prep stations, in order, that you want to include in your assembly line.
Note
The order in which you select the prep stations determines the order of prep stations in the assembly line. You can change the order by selecting the reorder icon and dragging the prep stations into the correct order.
-
Select Done. The Add custom prep stations dialog closes and the override is added to the Sequence prep stations list.
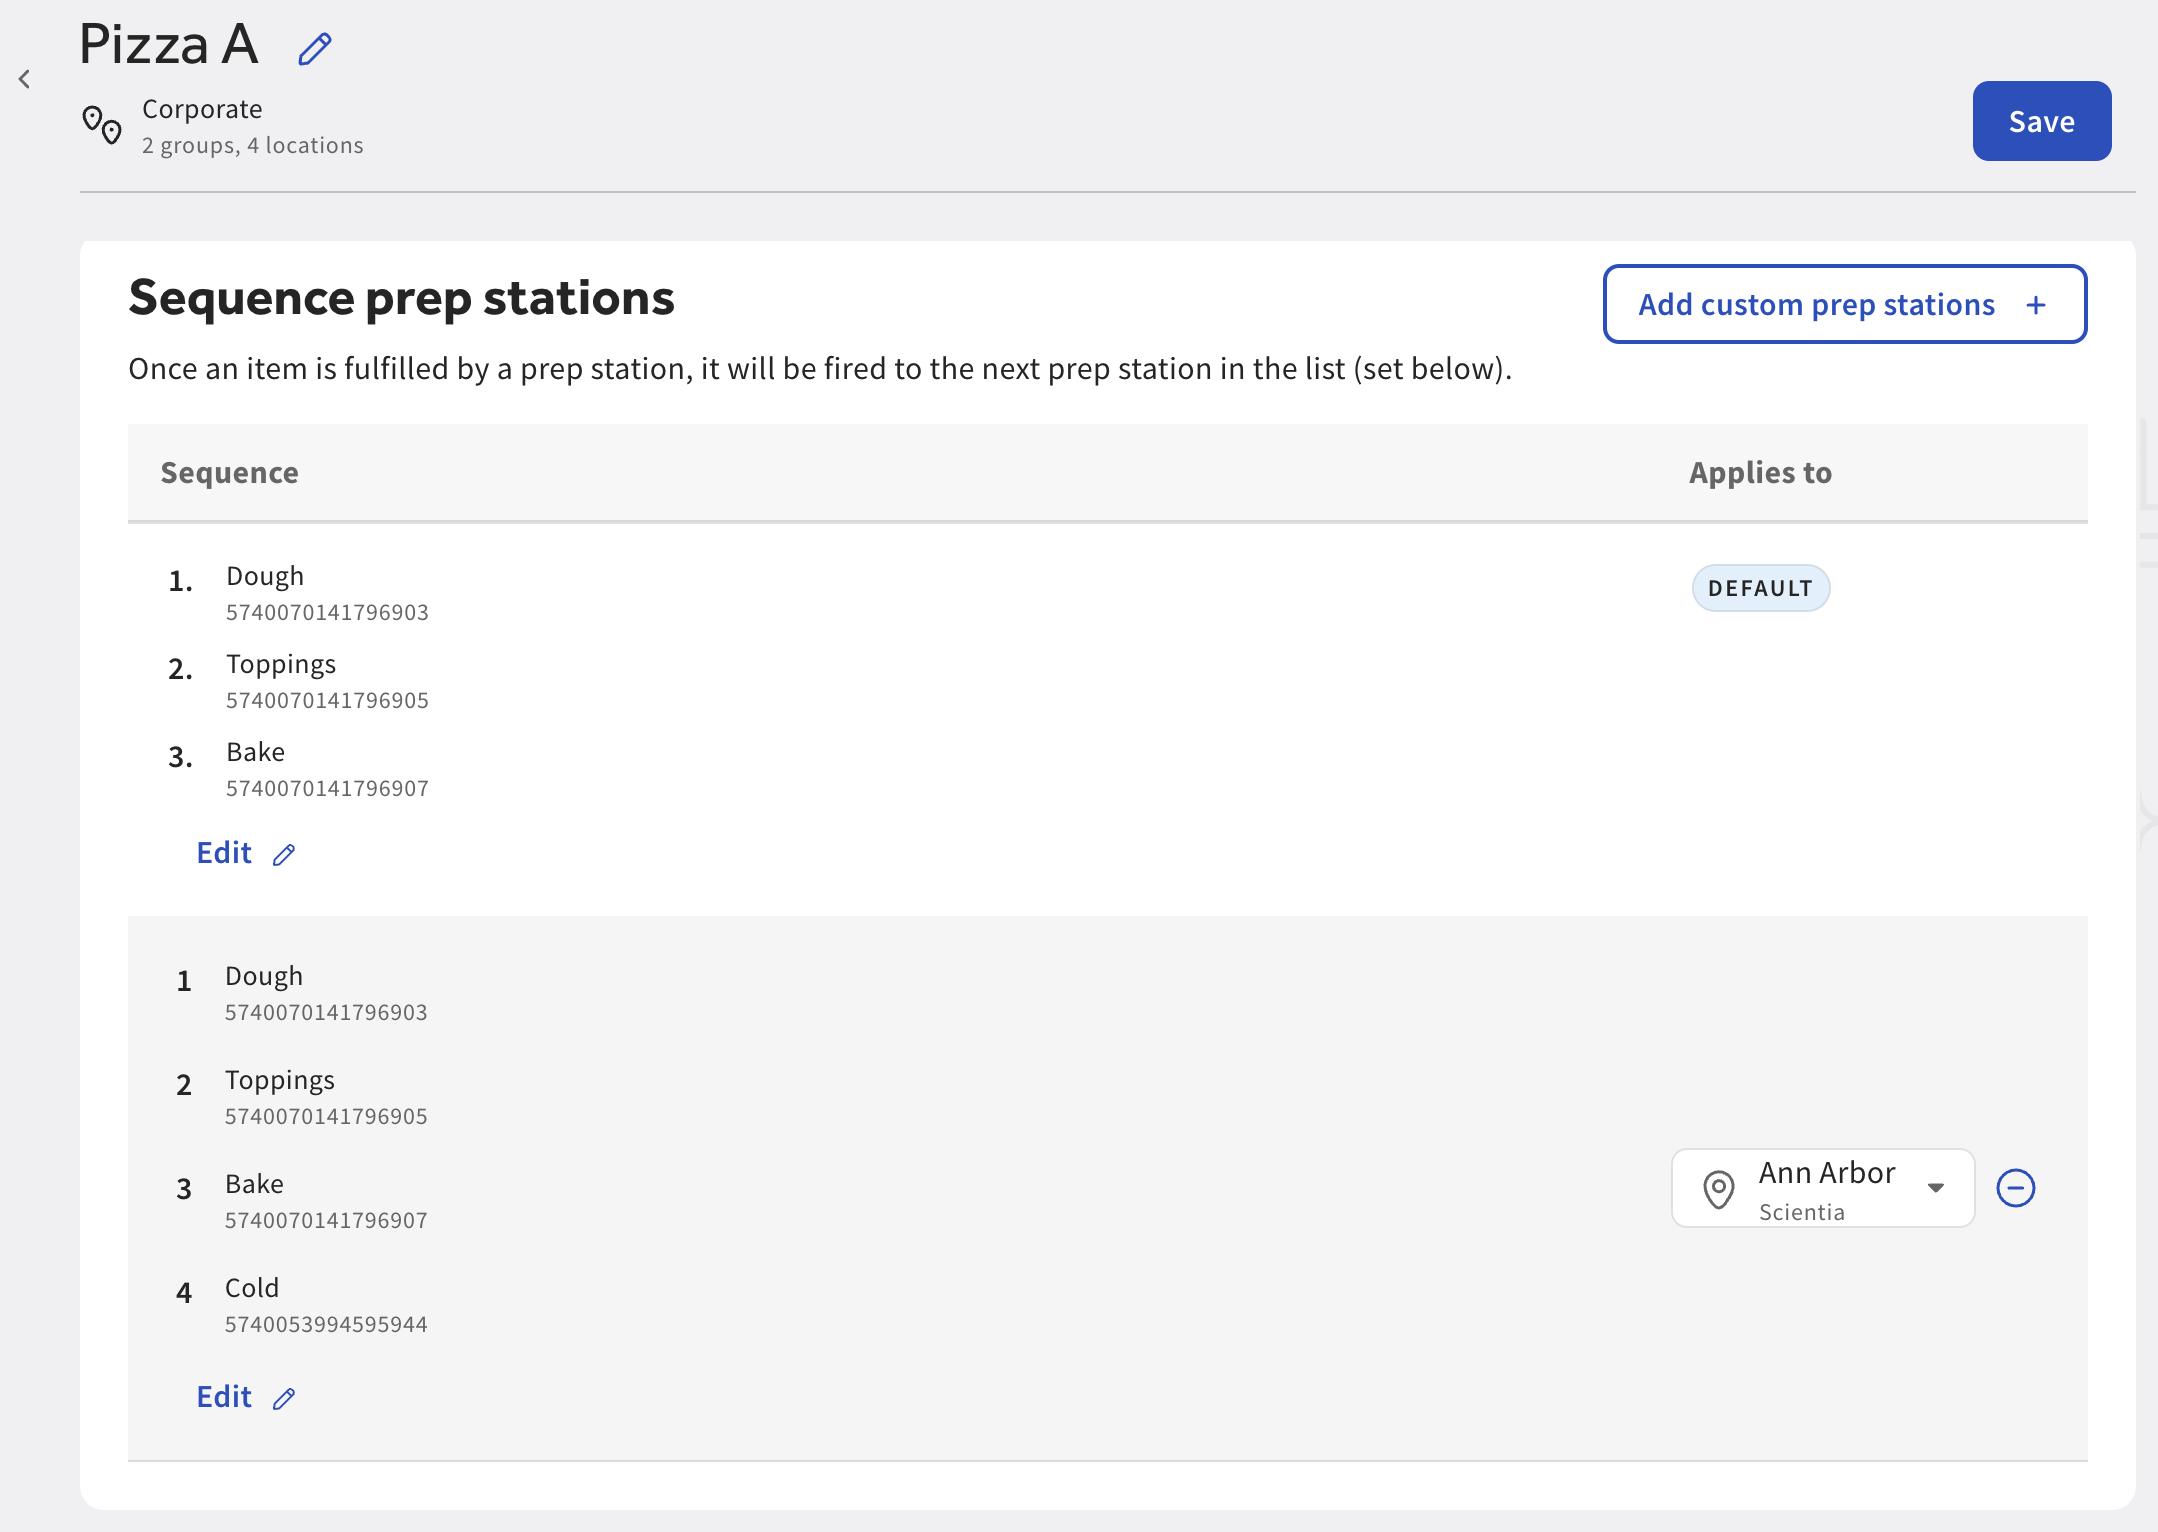
-
Select Save.
The location or location group you chose to use the override will now use the custom assembly line instead of the one labeled as the default.
After you create a custom assembly line, you can edit which prep stations are included and their order by selecting Edit or the pencil icon.
To edit an existing custom assembly line
-
Go to Kitchen > Kitchen stations > Assembly lines. The Assembly lines page opens.
-
Select the name of the assembly line or Edit from the overflow menu (the ⋮ icon) of the assembly line that has the override you want to edit.
-
In the Sequence prep stations section, find the override you want to edit and select Edit or the pencil icon below the last prep station in the assembly line.
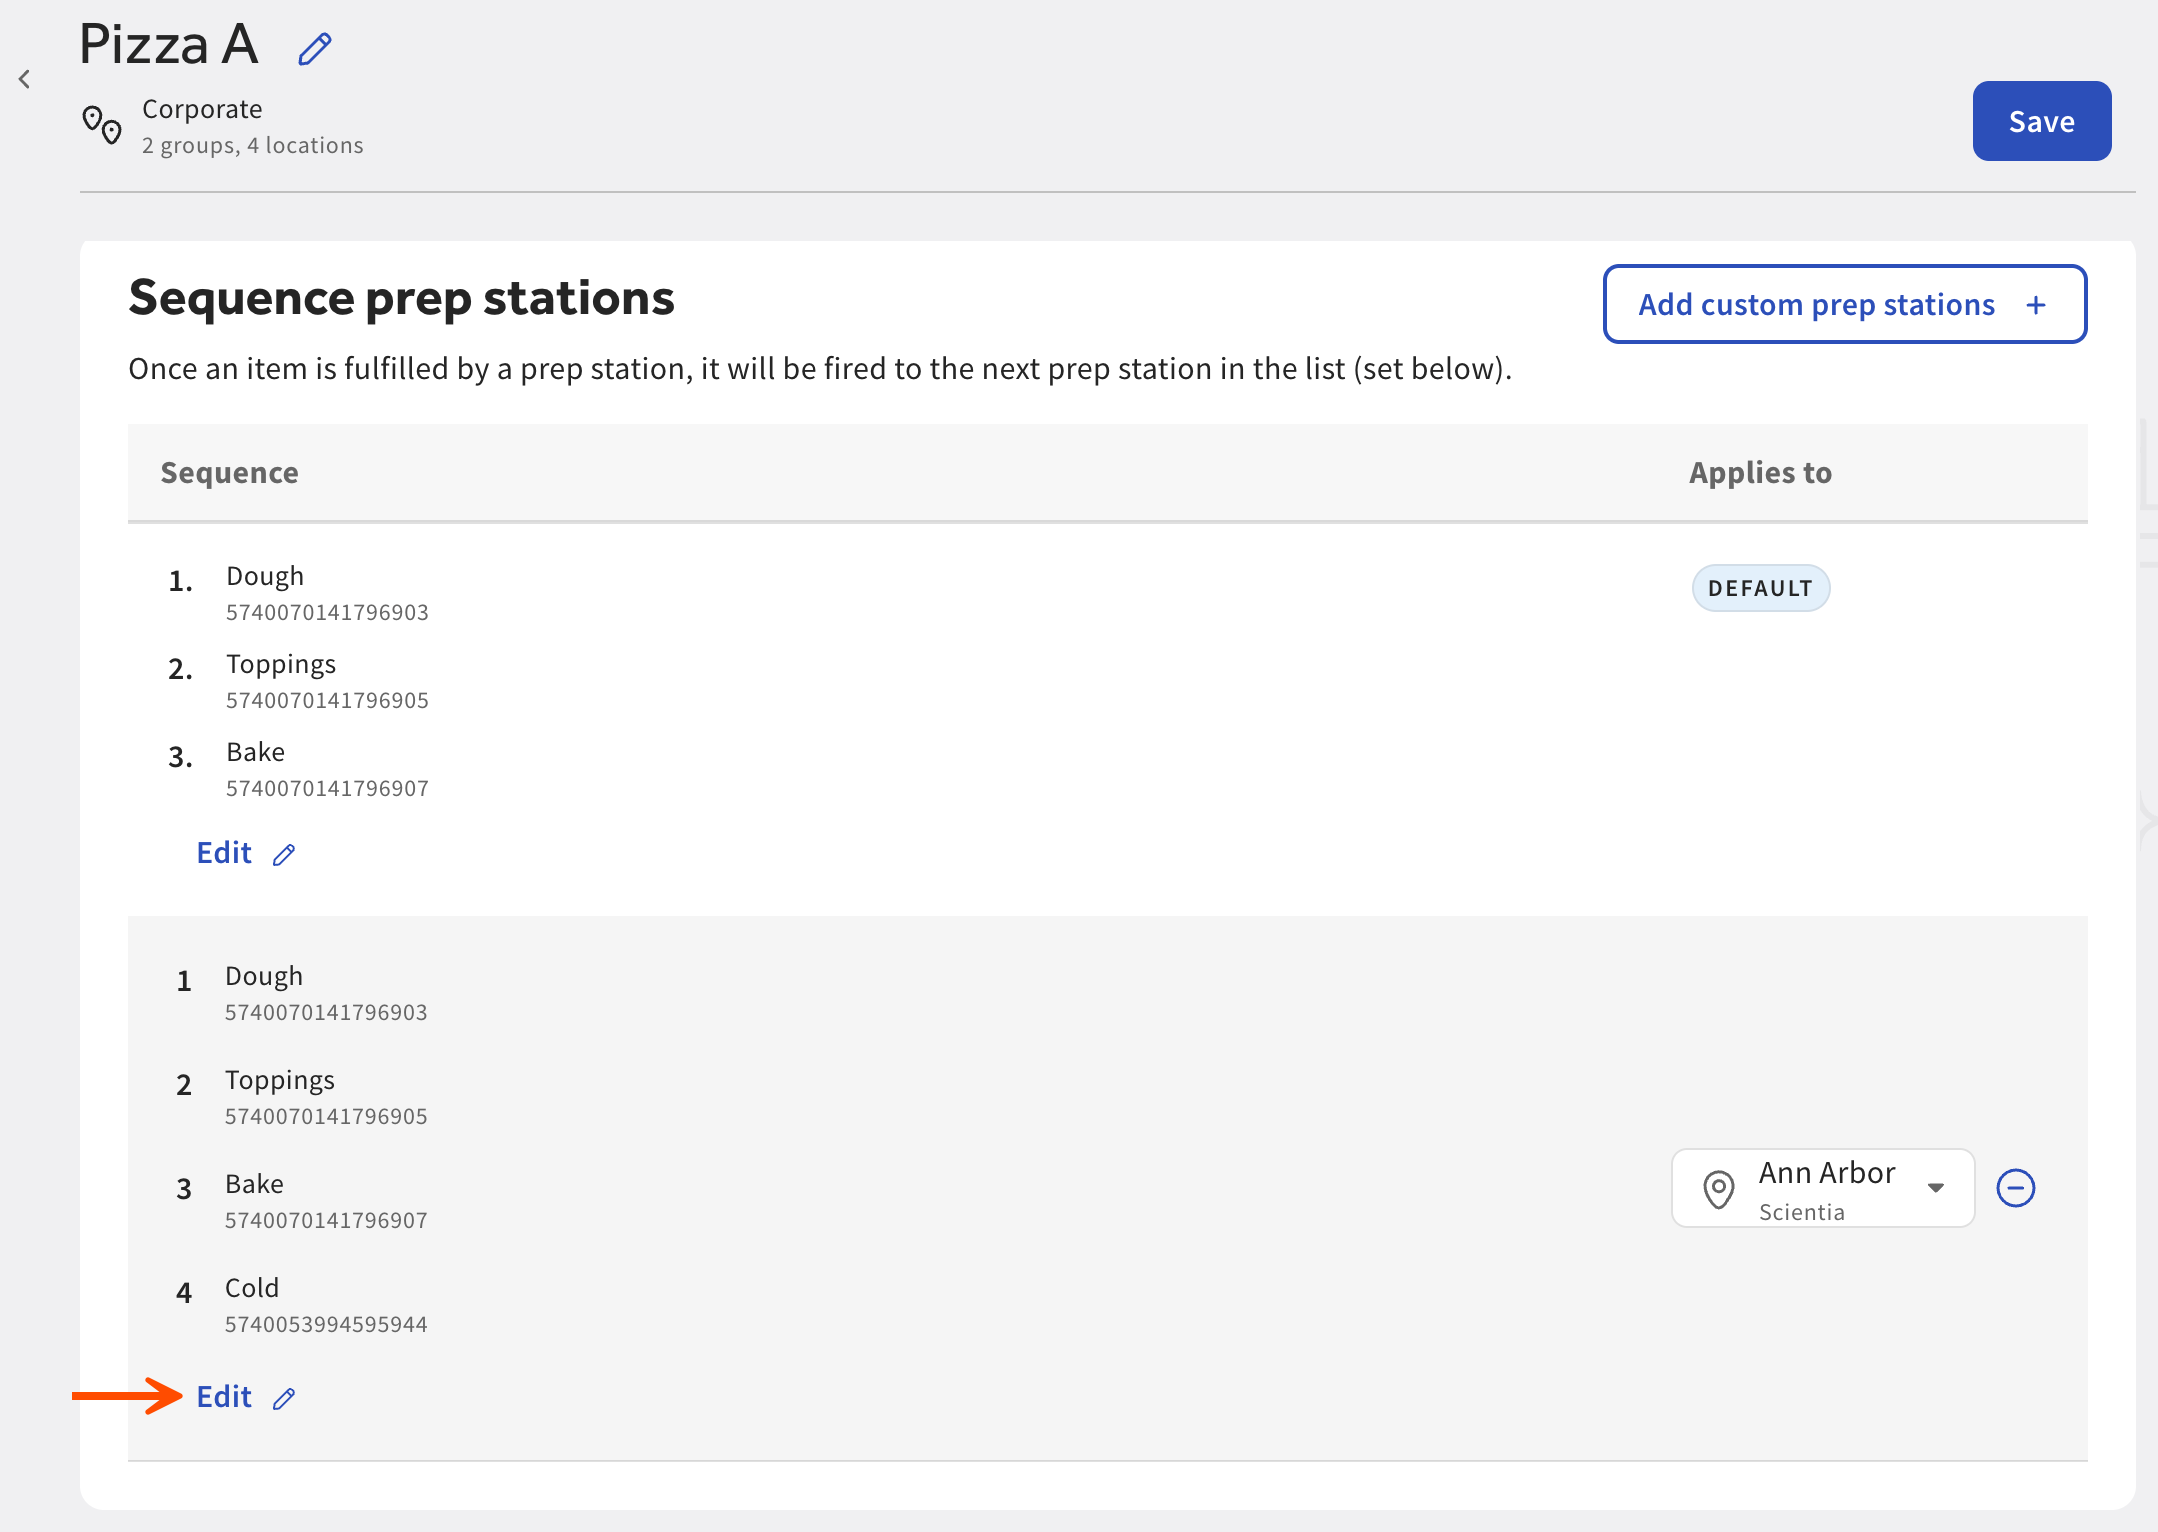
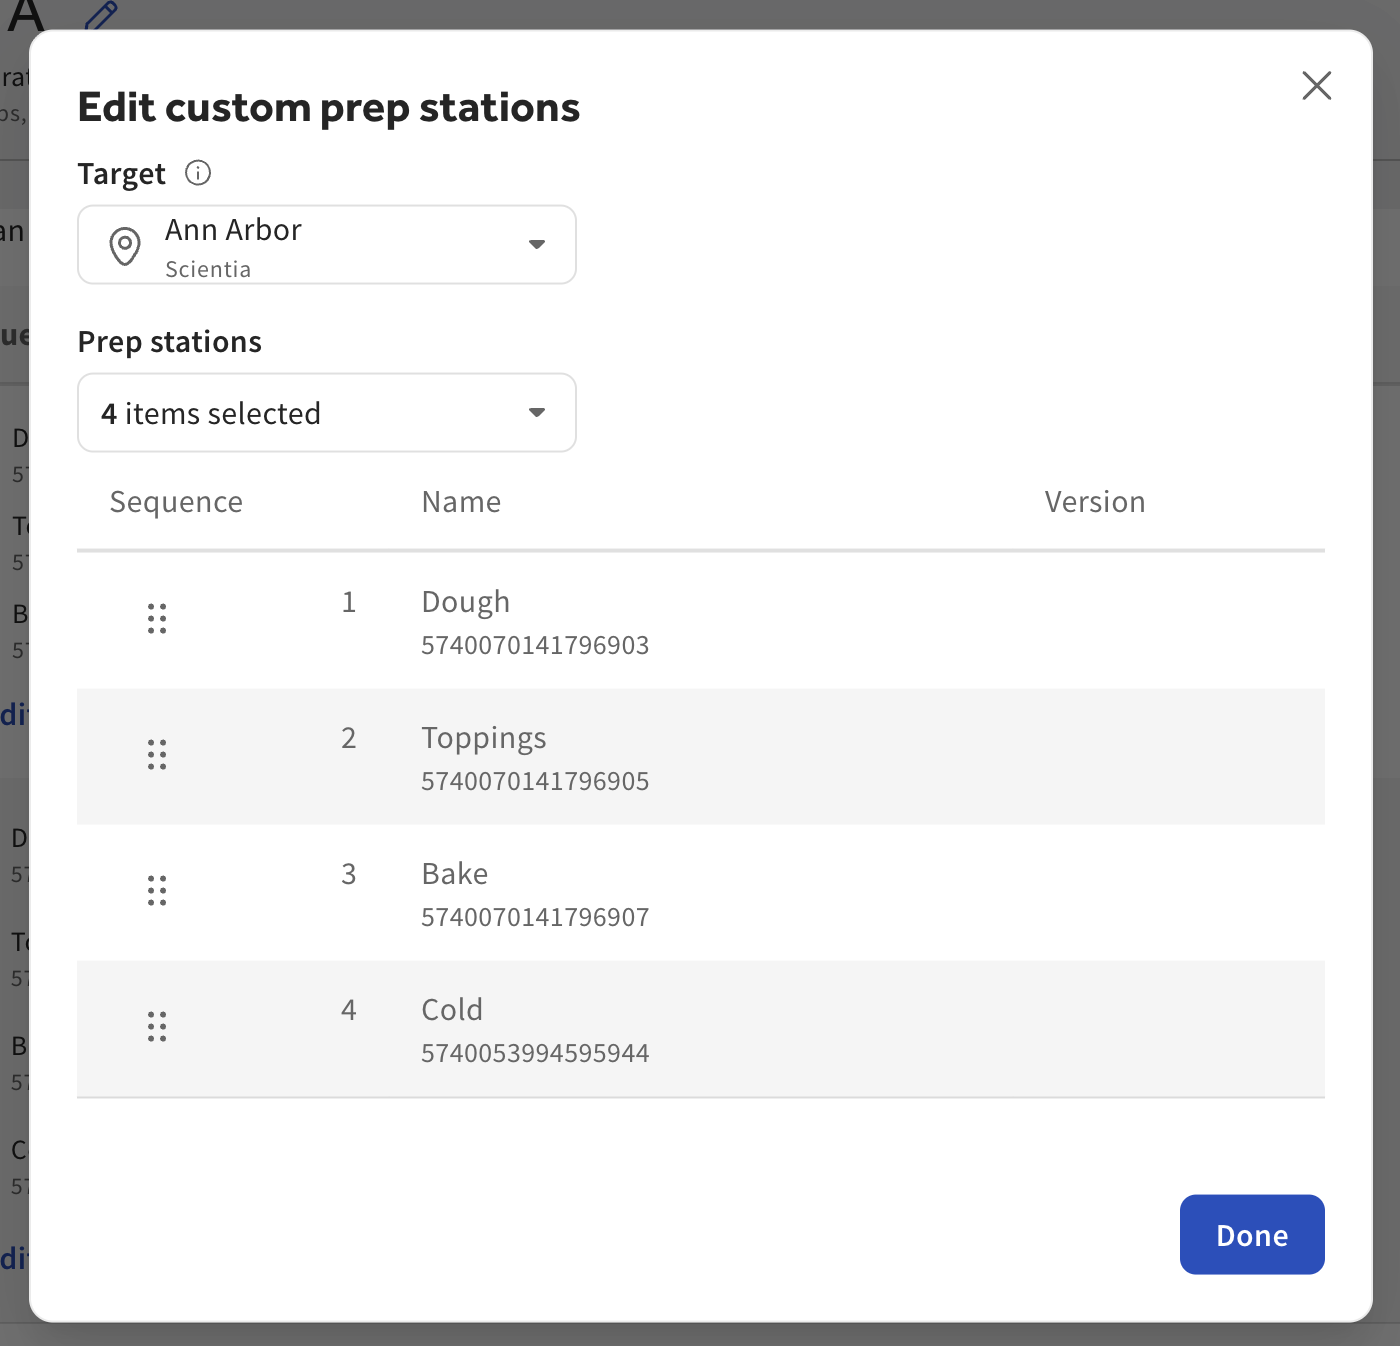
The Edit custom prep stations dialog opens.
-
Edit the prep stations in the custom assembly line:
-
Use the Target dropdown to change which location or group the override applies to.
Note
Changing the target removes all currently selected prep stations.
-
Use the Prep stations dropdown menu to remove or add prep stations.
-
Change the order of the prep stations using the reorder icon.
-
-
Select Done. The dialog closes. The entry under Sequence prep stations is updated.
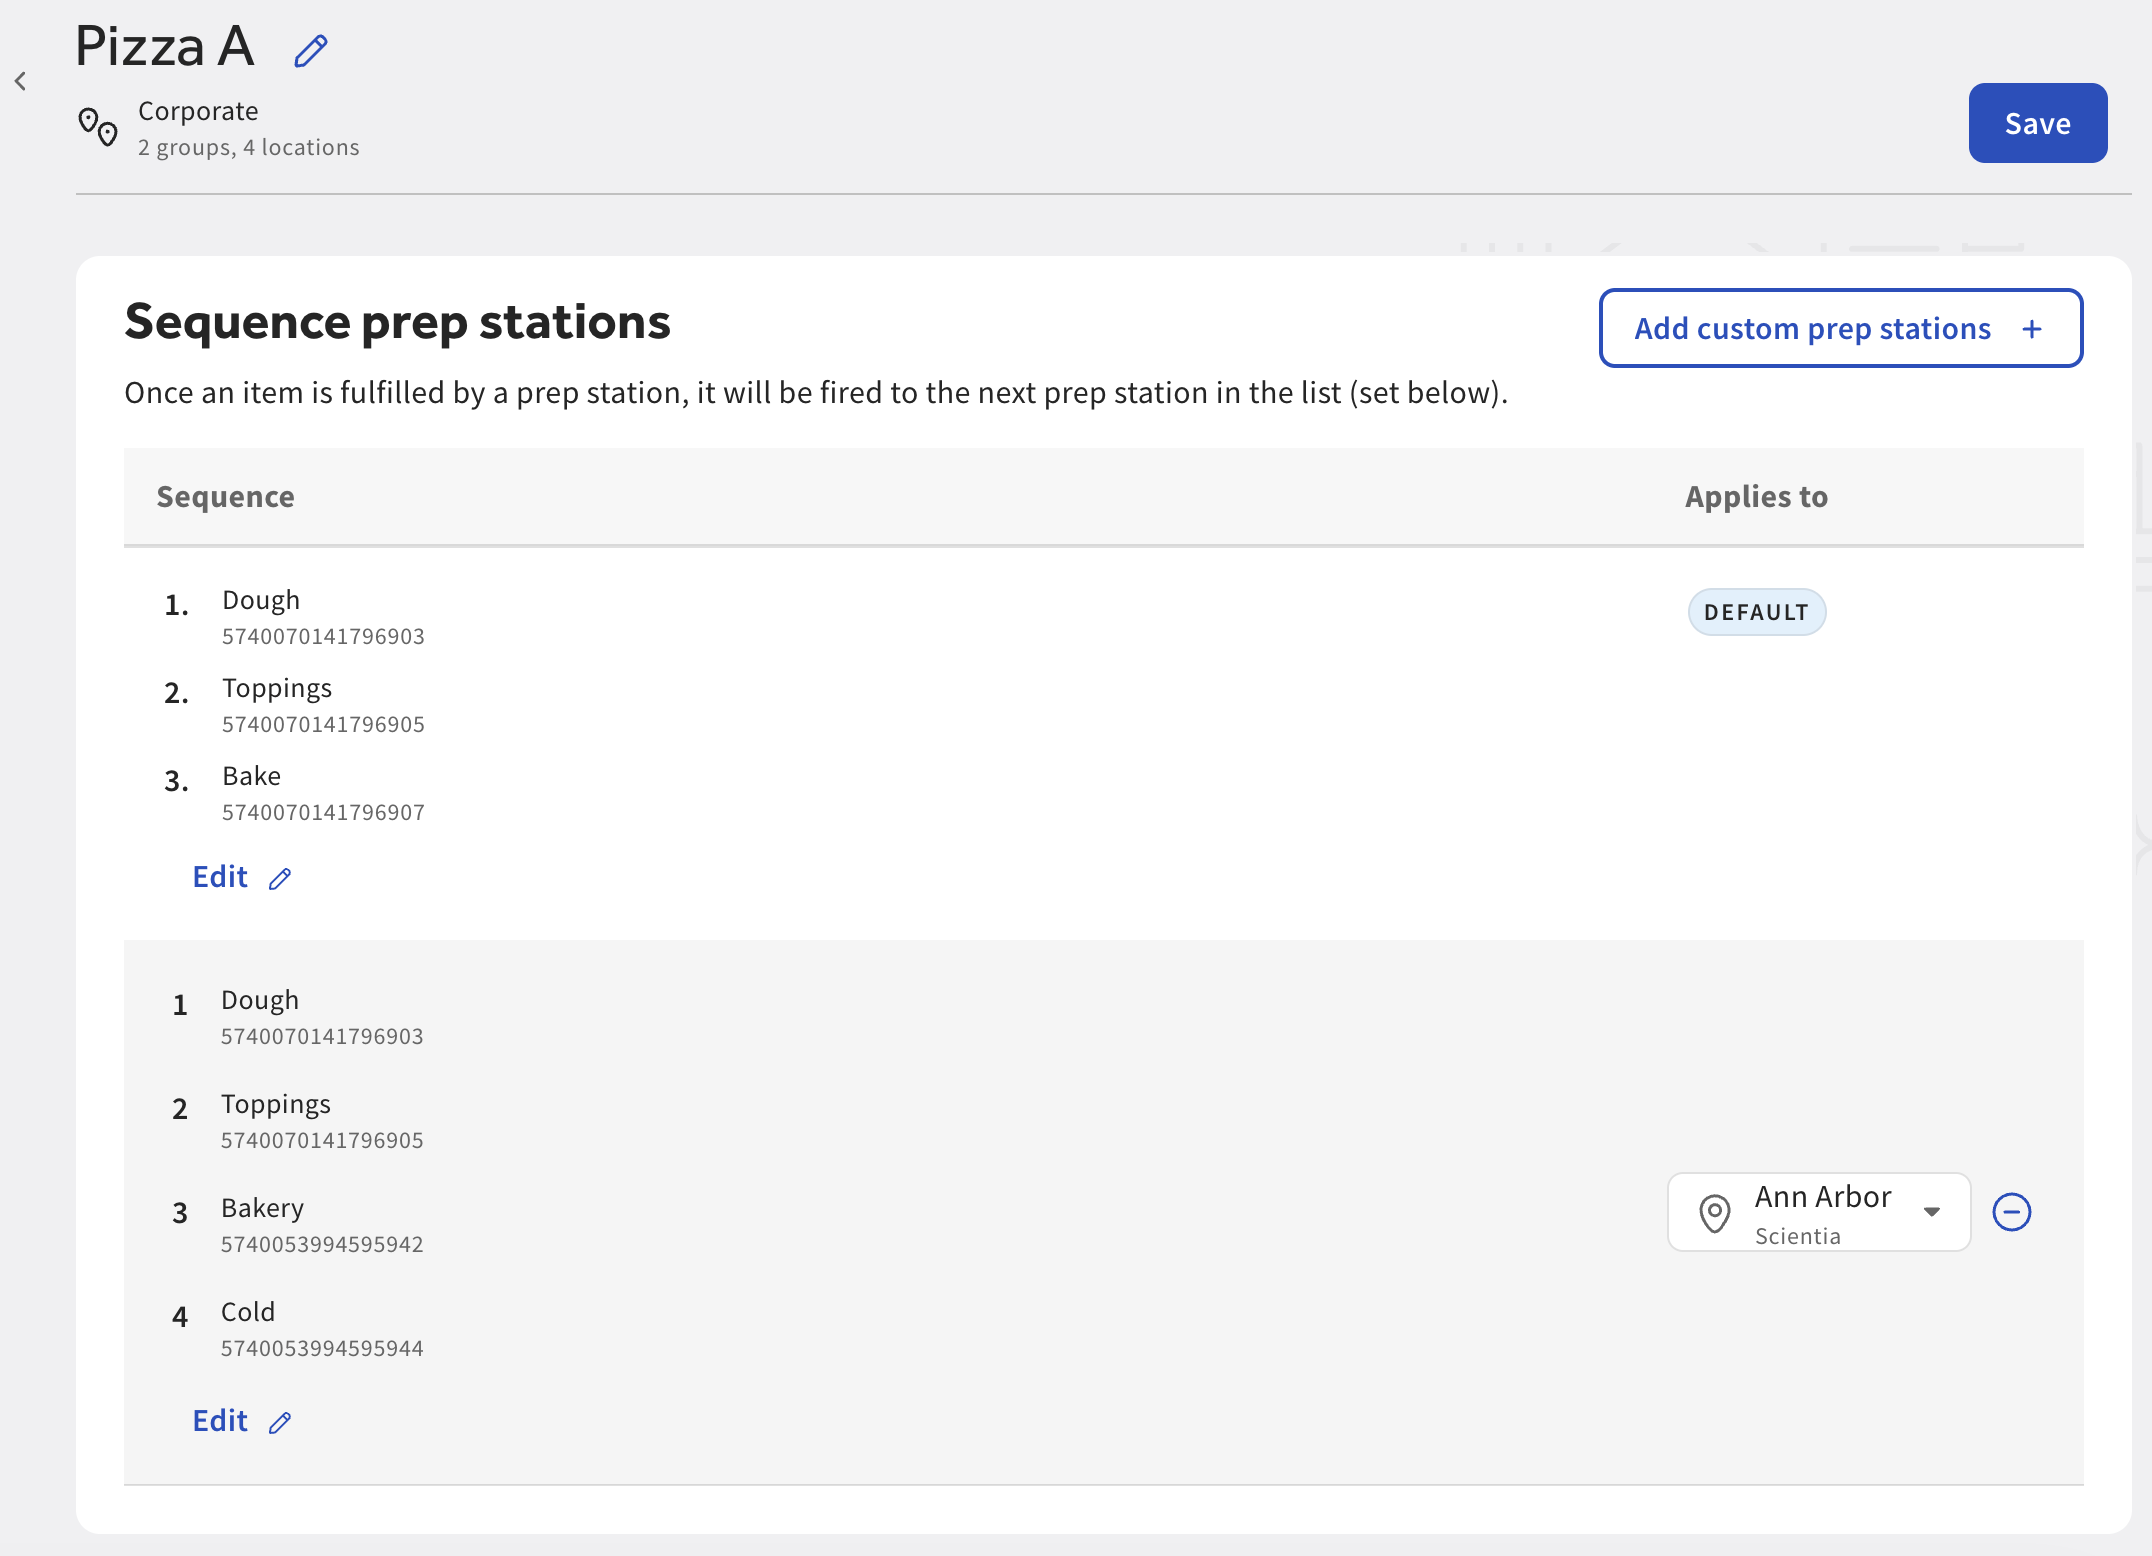
-
Select Save.
If you no longer want to use a custom assembly line, you can delete the override from the Sequence prep stations list. The location or group that previously used the custom assembly line will then use the one labeled as the default.
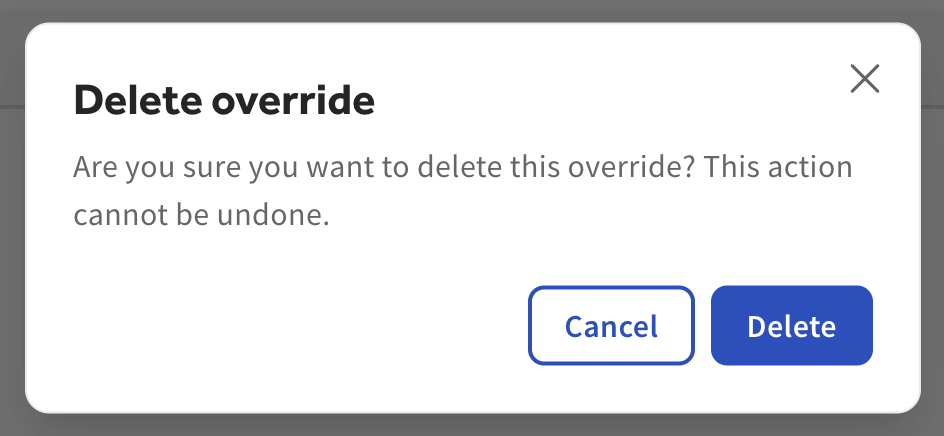
To delete a custom assembly line, select the delete icon (- sign) to the right of the custom assembly line row. A confirmation message appears asking you to confirm the deletion. Select Delete to confirm, and publish your changes when ready.