If you use a menu group across multiple locations, but need to change the menu items included in the menu group at specific locations or groups, you can do so using overrides. For example, a menu group applies to the Corporate group. The menu items in this menu group are used by all locations in this group, unless you use overrides. For more information, see Overrides.
|
Note |
|
Required items cannot be removed and are indicated with a red asterisk. |
To create an override for the menu items in a menu group, you need permission to edit menu group items for the location or group that the menu group applies to. For example, you want to add an override to the menu group Breakfast, which applies to the Corporate group. To add an override for a Baltimore location, you need edit permissions for the Corporate group.
To create a custom item list for a menu group
-
Go to Menus > Menu management > Menu manager. The Menu manager page opens.
-
From the Show section, choose Full menu.
-
Select the locations whose menu data you want to edit from the locations control.
-
Use the expand icons to locate the menu group you want to edit.
-
Select the name of the menu group. A side pane opens.
-
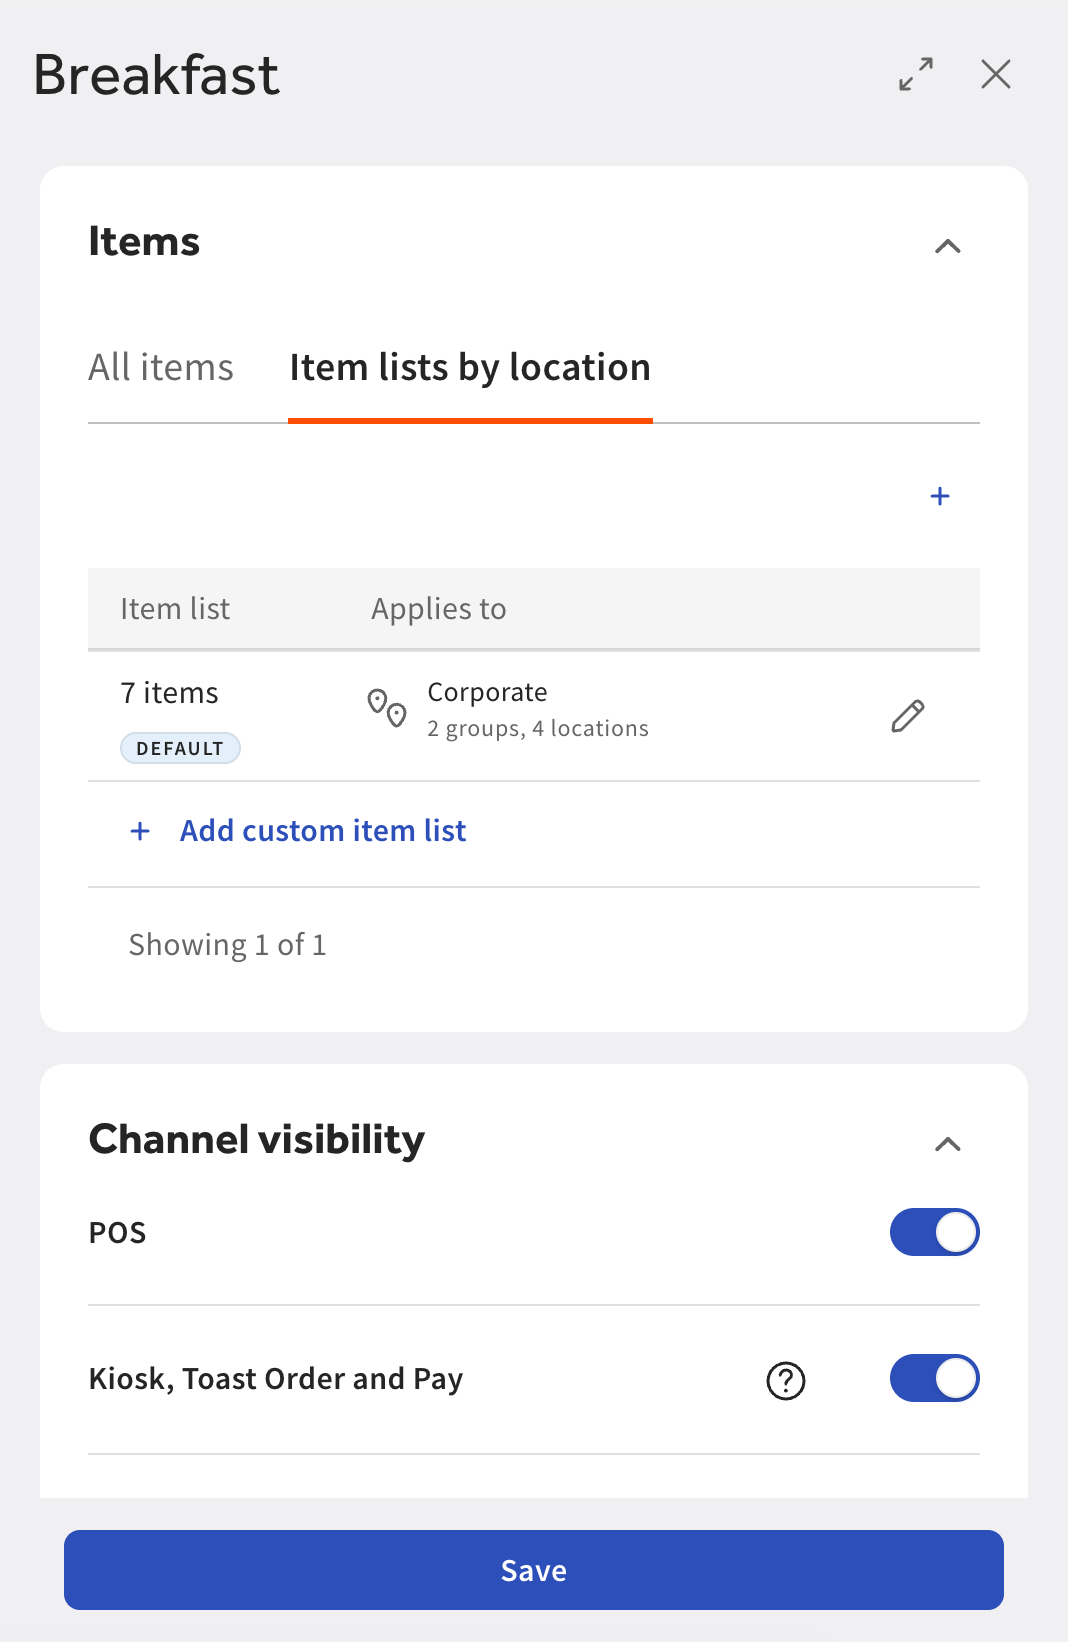
In the Items section, select Item lists by location.
-
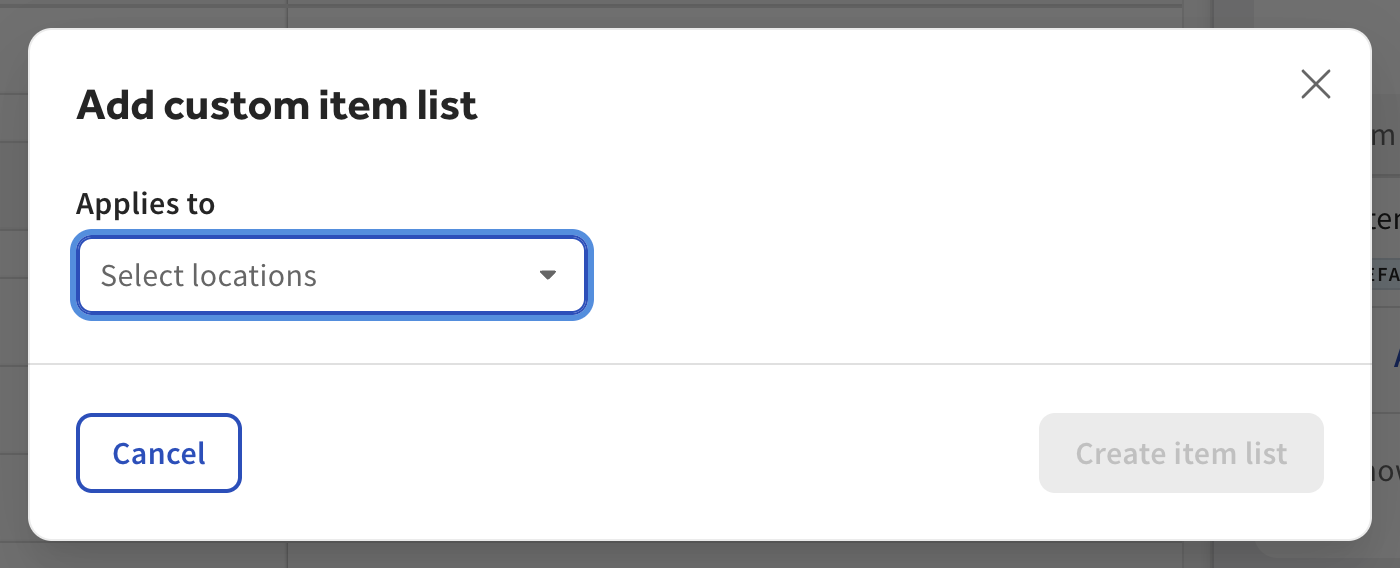
Select + Add custom item list. The Add custom item list dialog opens.
-
Select the Applies to dropdown menu. The Select location dialog opens.
-
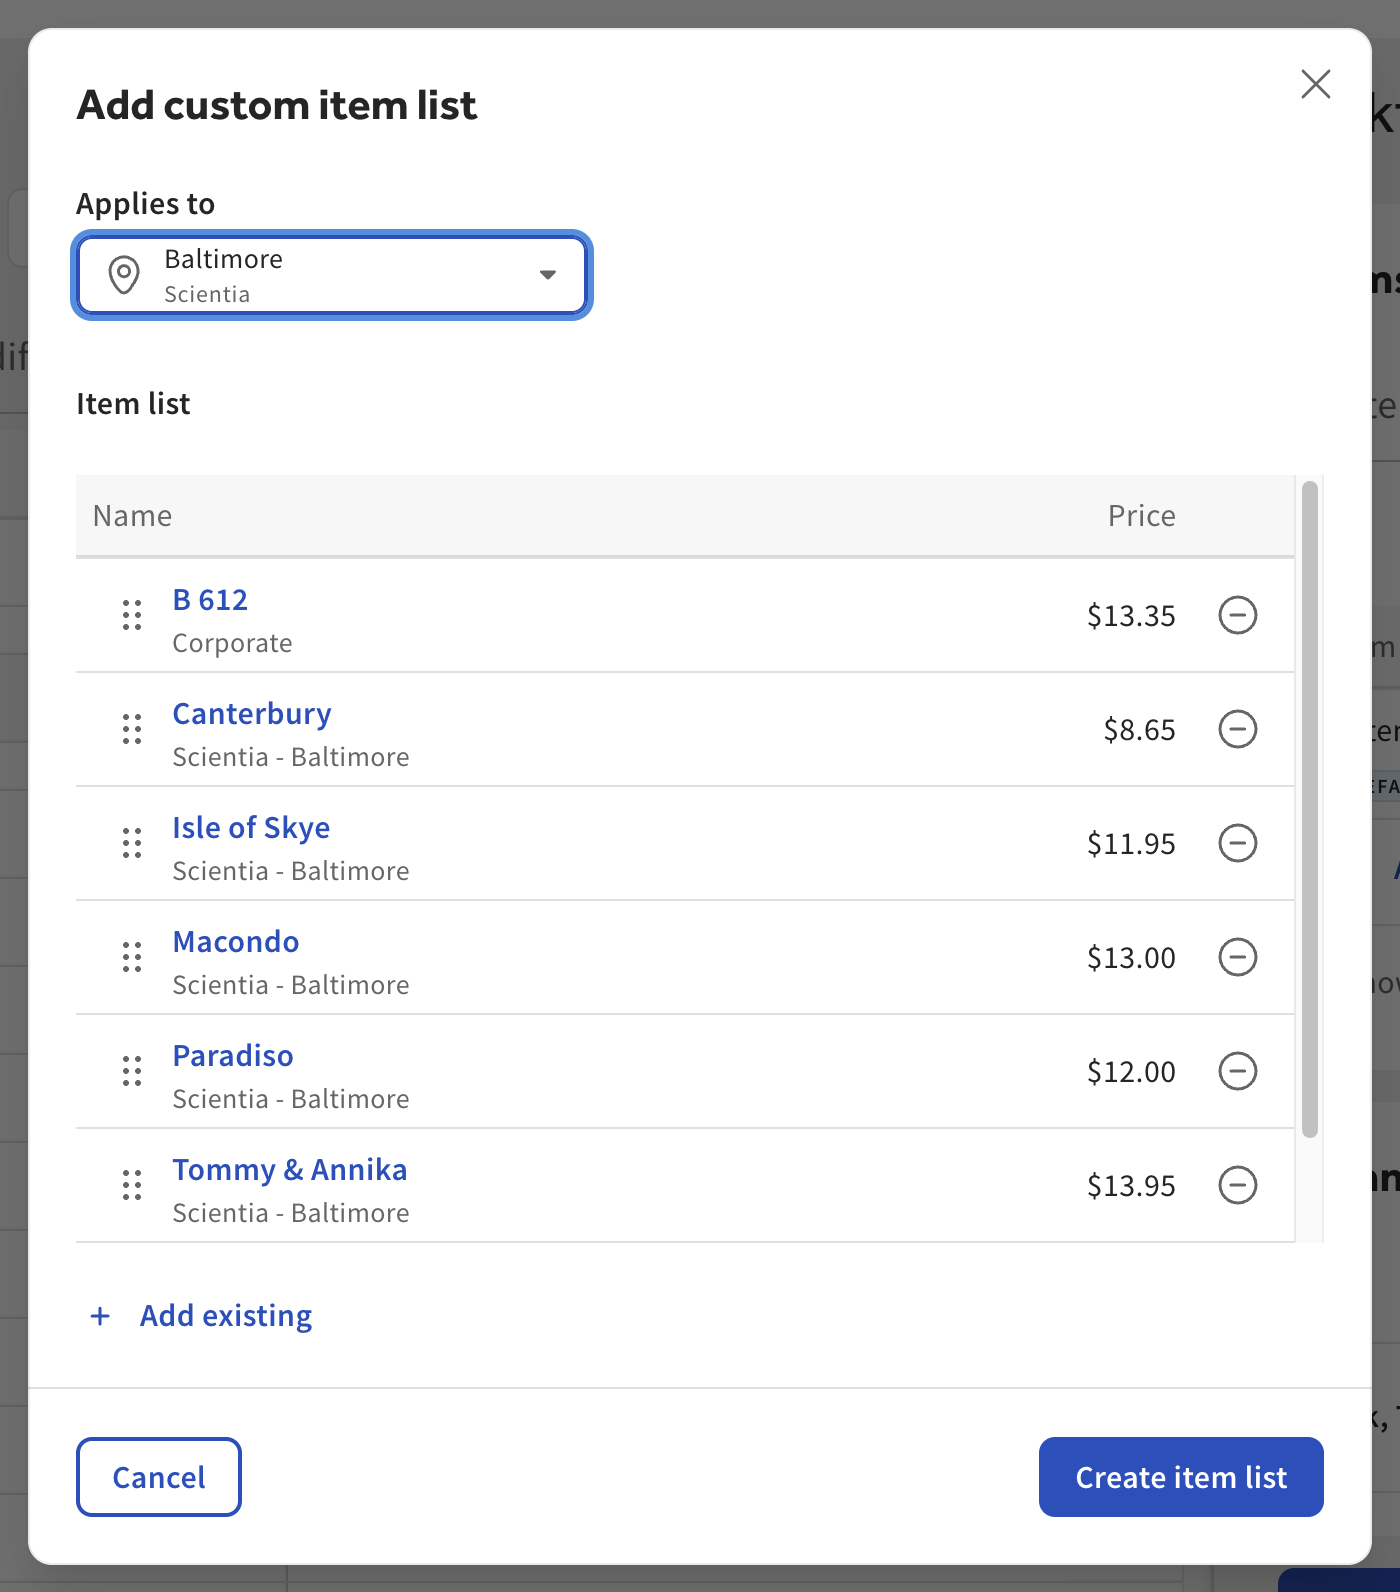
Select the location or group for the custom item list. The Select location dialog closes. The Add custom item list dialog now displays the items included by default.
Note
You can only create one custom item list for each location or group.
-
Edit the items included in the custom item list:
-
Use the remove icon to delete items from the list.
Note
Required items cannot be removed.
-
Use + Add existing to search for existing items by menu item name. Select the items you want to add.
-
Change the order of the items using the reorder icon.
-
-
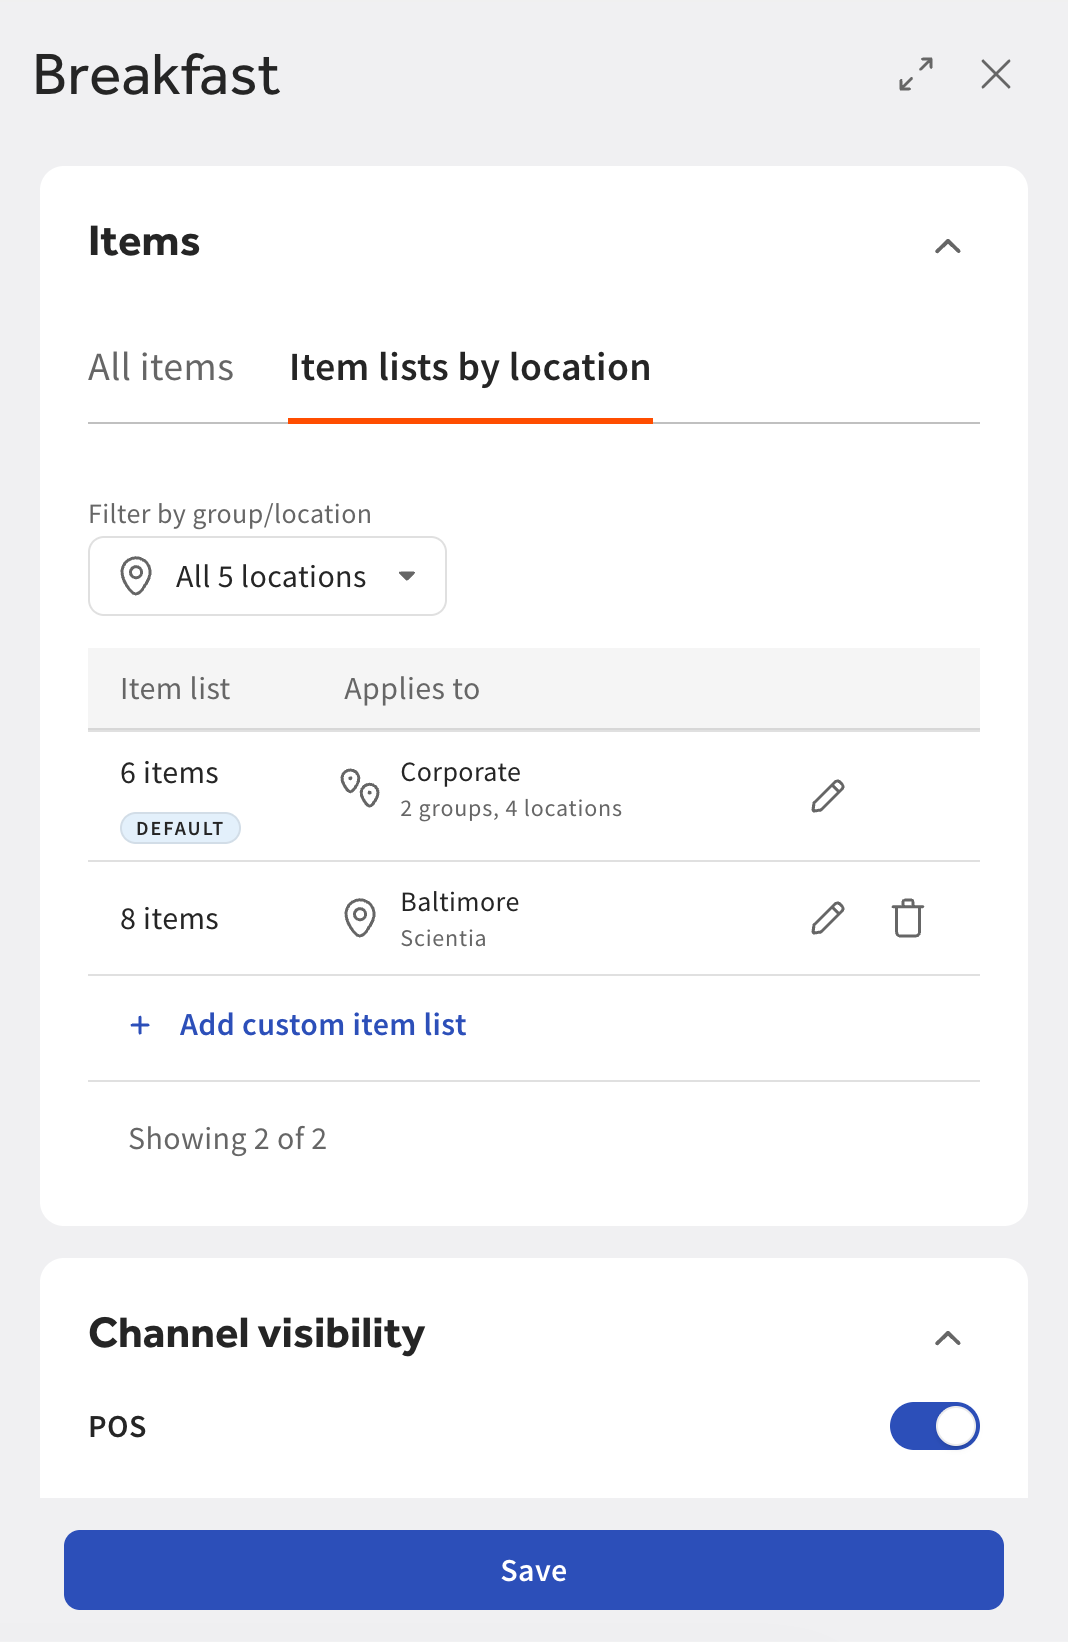
Select Create item list. The dialog closes. A new entry is added under Item lists by location.
-
At the bottom of the side pane, select Save.
After you create a custom item list, you can edit its items by selecting the pencil icon.
To edit an existing custom item list for a menu group
-
Go to Menus > Menu management > Menu manager. The Menu manager page opens.
-
From the Show section, choose Full menu.
-
Select the locations whose menu data you want to edit from the locations control.
-
Use the expand icons to locate the menu group you want to edit.
-
Select the name of the menu group. A side pane opens.
-
In the Items section, select Item lists by location.
-
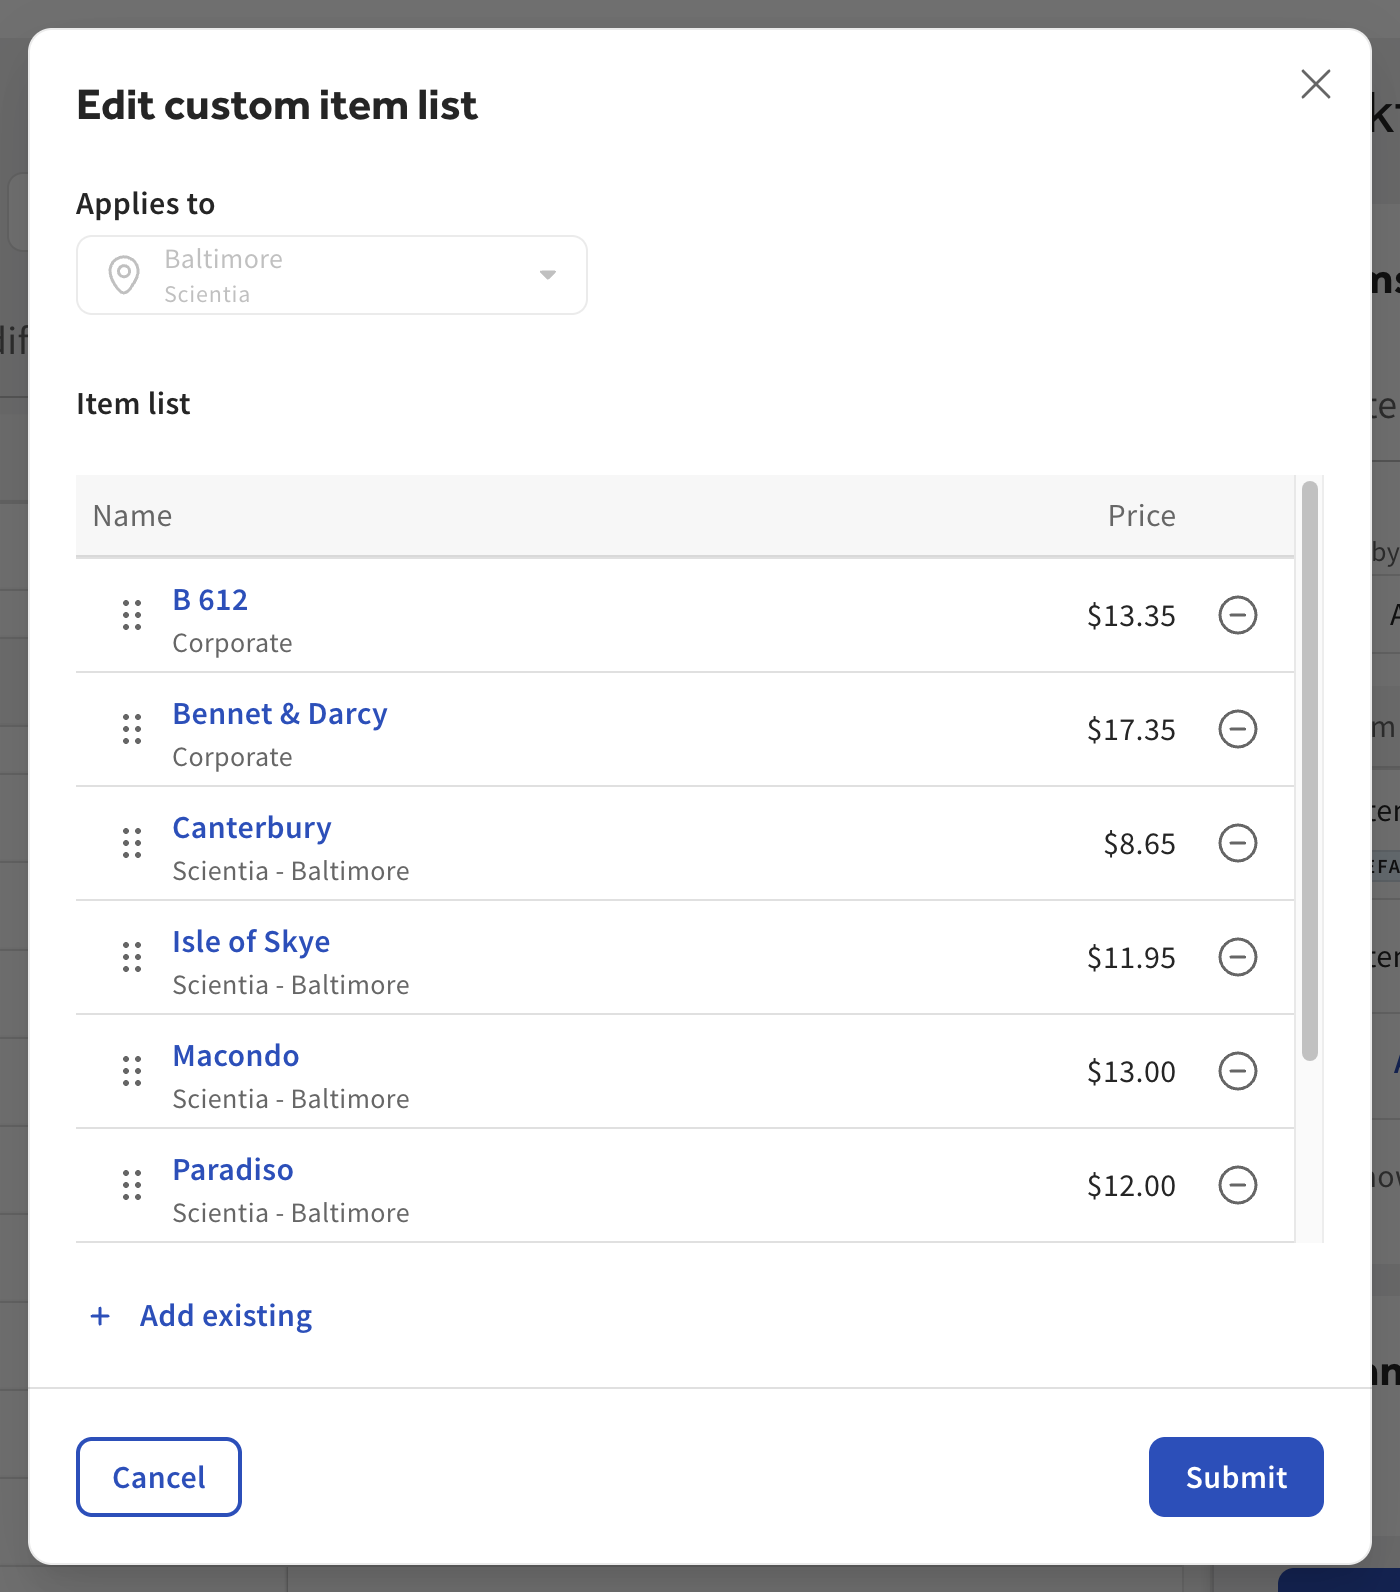
To edit a custom item list, select the pencil icon on the right side of the row. The Edit custom item list dialog opens.
-
Edit the items included in the custom item list:
-
Use the remove icon to delete items from the list.
Note
Required items cannot be removed.
-
Use + Add existing to search for existing items by menu item name. Select the items you want to add.
-
Change the order of the items using the reorder icon.
-
-
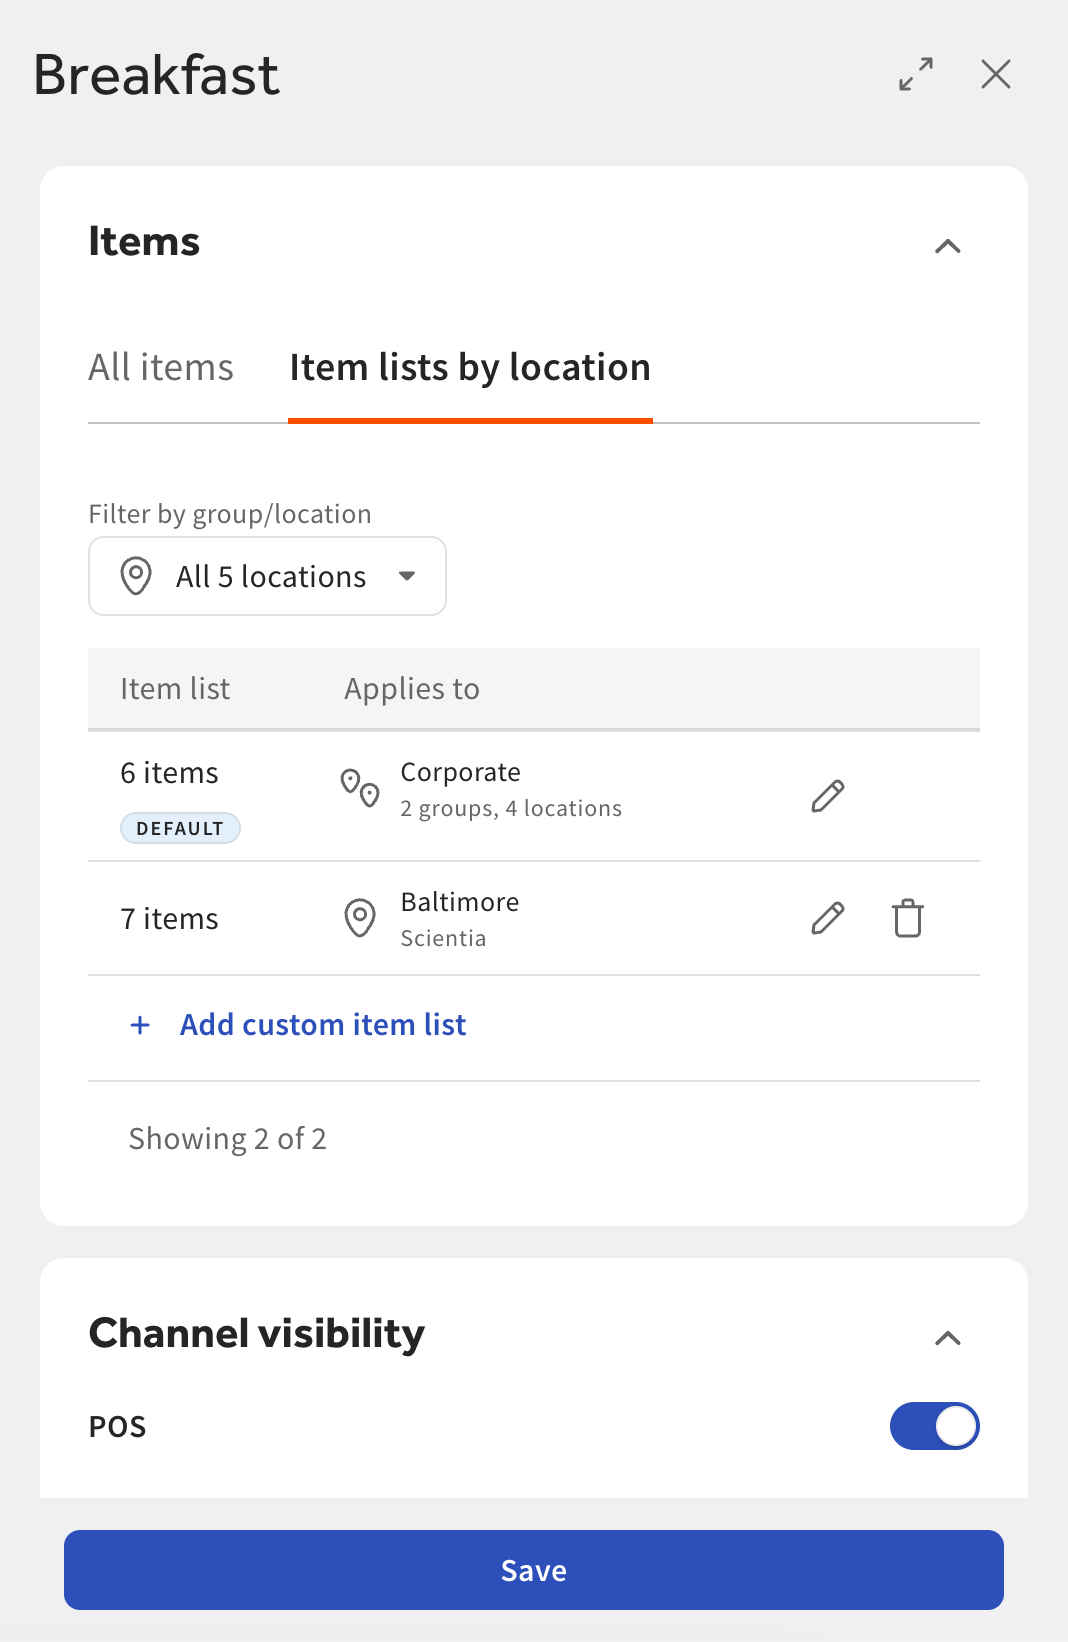
Select Submit. The dialog closes. The entry under Item lists by location is updated.
-
At the bottom of the side pane, select Save.
To delete a custom item list, select the delete icon (trash can) to the right of a custom item list row. When you delete a custom item list, a confirmation message appears asking you to confirm the deletion. This confirmation message specifies the values the location or location group will use after the custom item list is deleted. Select Delete to confirm.
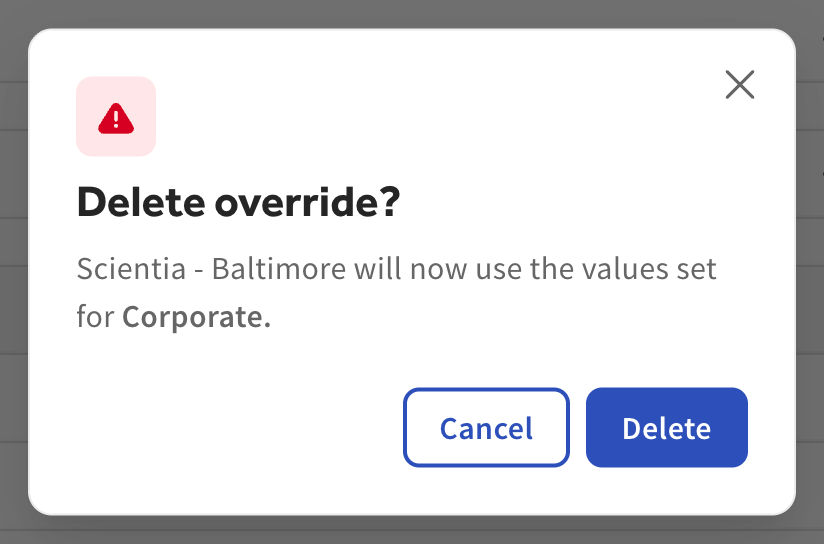
For example, a default list applies to the East location group, which includes Baltimore and Philadelphia. If you delete the custom item list that applies to Baltimore, the Baltimore location will now use the same values as the East location group.