The Menu manager page includes a set of searching and filtering controls that you can use to refine the list of menu entities that are displayed, making individual entities easier to find and edit.
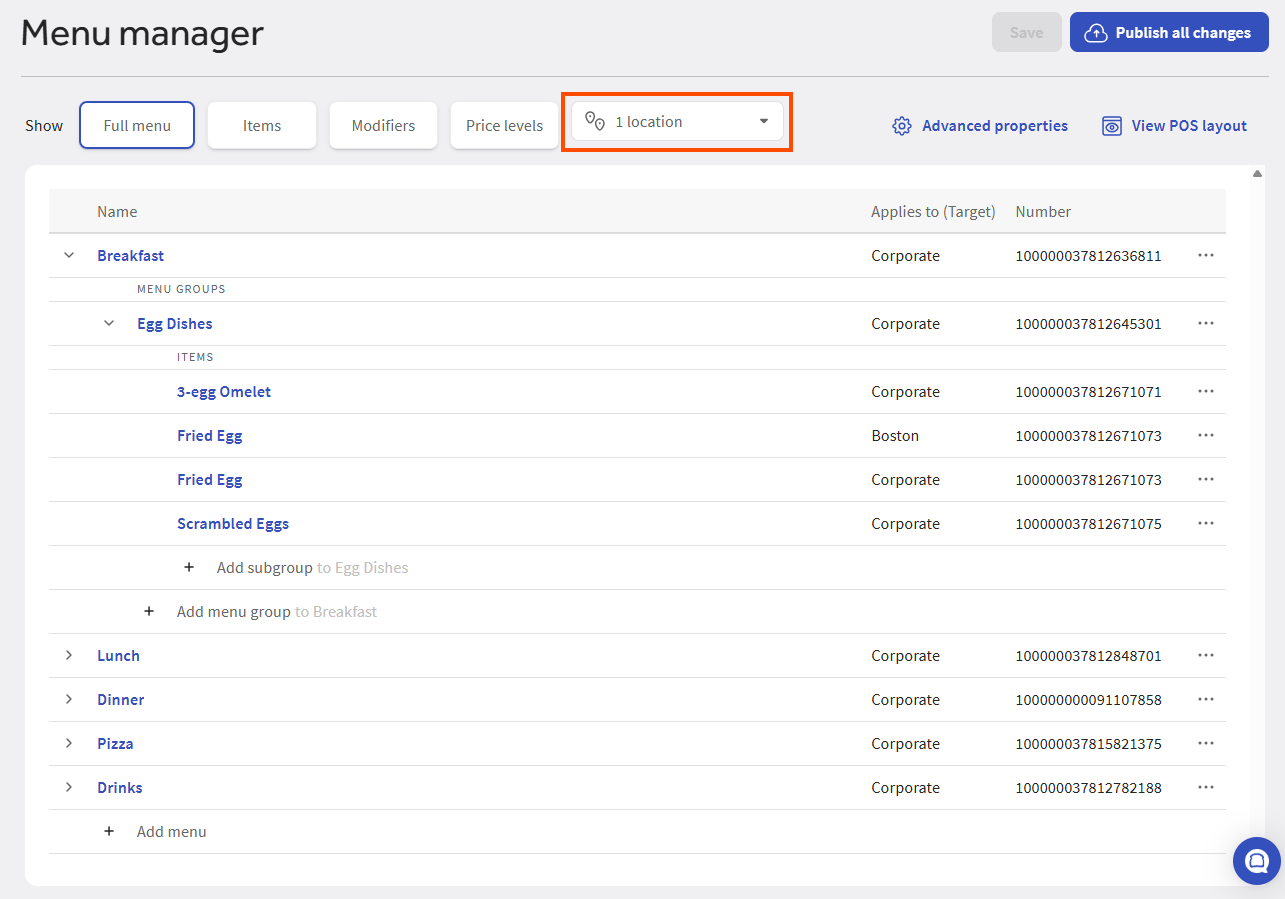
This illustration shows the controls on Full menu view.
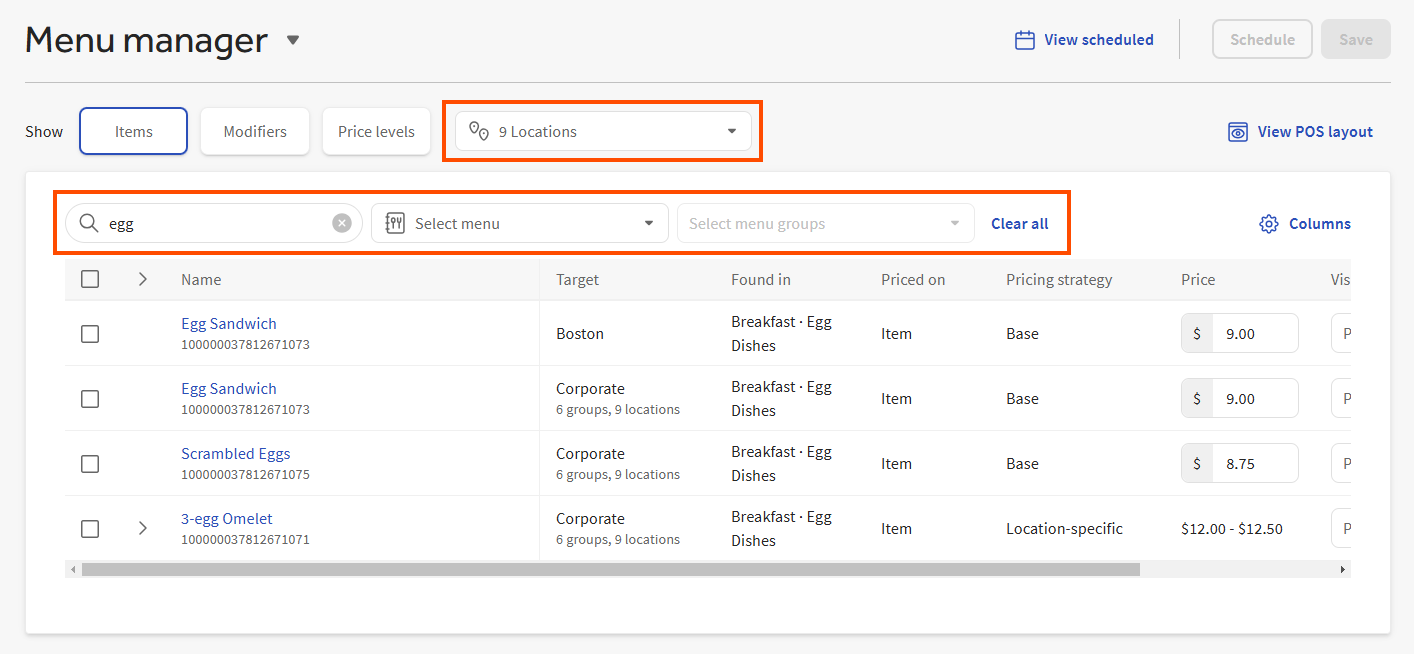
This illustration shows the controls on Items view.
The following sections provide more details on using the search and filtering controls.
The Items, Modifiers, and Price levels views have a search field. As you enter search terms in this field, the content of the menu manager view you are on is immediately filtered to match what you enter. You can use the search field on its own or in conjunction with the filtering controls to refine the list of menu entities that appear on the view.
|
Note |
|
Full menu view does not have a search field. |
In addition to the search field, the menu manager page includes a set of filtering controls. The following sections describe how these controls behave:
For multi-location restaurants, filtering begins with selecting the locations whose menu data you want to view from the locations control. All of the menu manager views have a locations control. The following illustration shows the control on Full menu view.

By default, the locations control is set to the location you are currently logged into (also known as the session restaurant). The locations you have selected remain in place as you navigate between the Items, Modifiers, and Price levels views. Currently, when you go to Full menu view, the locations control is reset to the session restaurant.
To filter by location
-
On the Menu manager page, select the locations control. The Select locations dialog opens.
-
To select locations by restaurant group:
-
Select the Restaurant groups tab. You see a list of all your restaurant groups.
-
Select the restaurant groups that contain the locations you want to make edits for, or use the Select all option to select all groups. When you select a restaurant group, all of that group's child locations and sub-groups are automatically selected. Also, the ancestors of the restaurant group are automatically selected.
-
To drill down into a restaurant group's subgroups and locations, select the expand icon at the end of the row.
-
-
To select individual locations:
-
Select the Locations tab. You see a list of all your locations.
-
Select the locations you want to make edits for, or use the Select all option to select all locations. When you select an individual location, that location is selected along with any of its ancestor restaurant groups.
-
-
To search for specific restaurant groups or locations, select the search field and then enter your search terms. Restaurant groups and locations that match your search terms display, allowing you to quickly select them.
As with the tabs, when you select a restaurant group, all of that group's child locations and sub-groups are automatically selected, as well as the group's ancestors.
When you select an individual location, that location is selected along with any of its ancestors.
-
To clear your selections, select Clear.
-
When you are done selecting restaurant groups and locations, select the Select [X] locations button to apply the filter.
To filter menu items or modifiers, you select a menu and then you optionally select one or more menu groups from that menu. The menu manager view updates to show only those menu items or modifiers that are used in the menu and menu groups you specified. You can add an optional search term in the search field to use with the filtering controls to further limit the contents of the menu manager view.
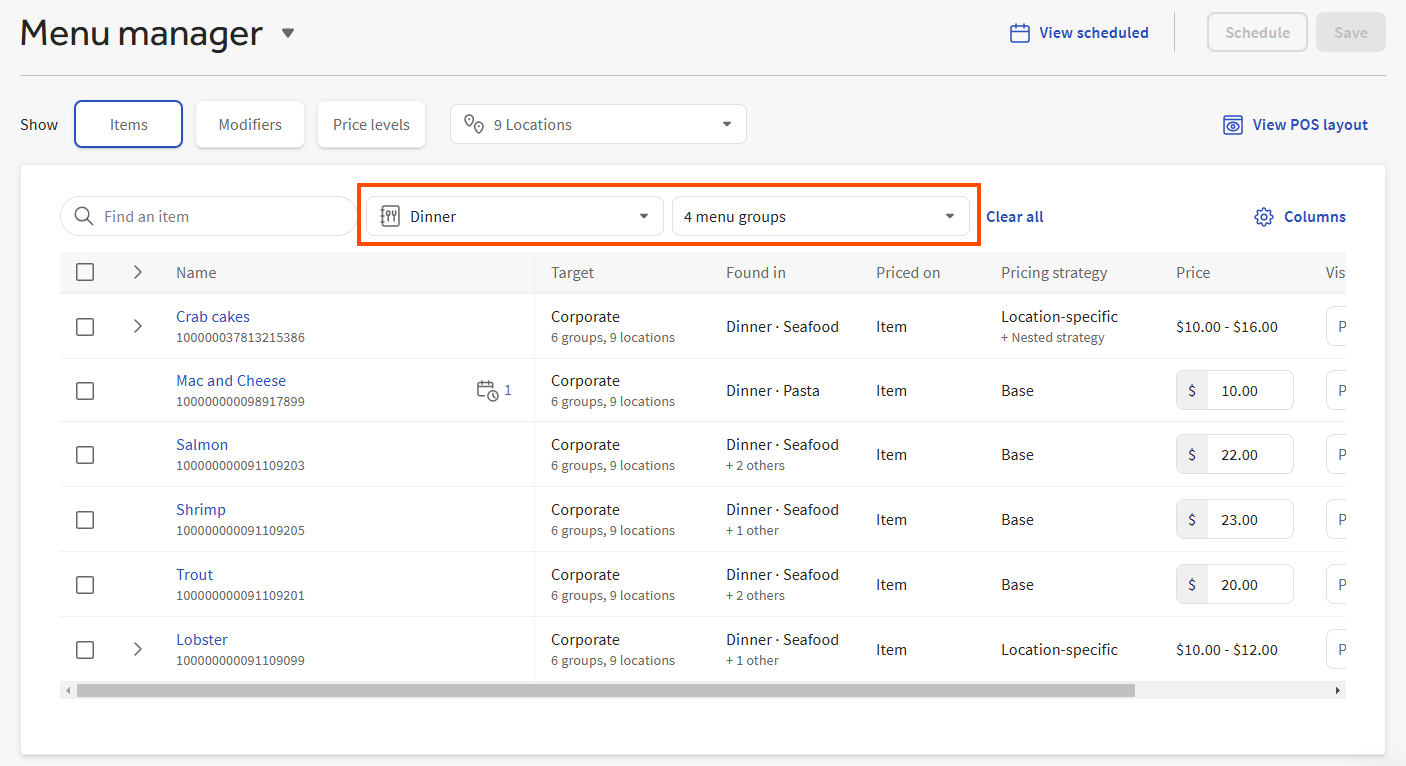
When you select a menu, the menu groups filter is automatically limited to just menu groups in the selected menu.
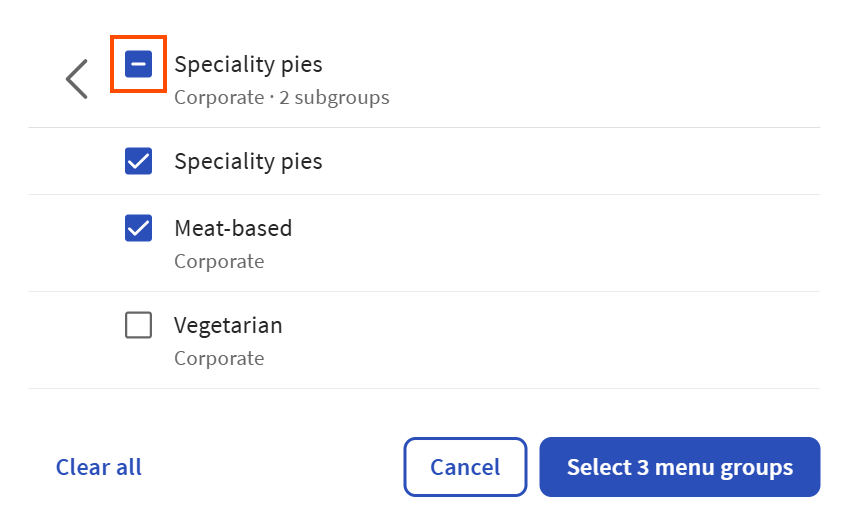
When you select the menu groups filter, the menu groups filter dialog opens, with the name of the currently selected menu at the top. You can select all the menu groups in the menu, including any subgroups, using the Select all option. You can clear all your menu group selections using the Clear all option.
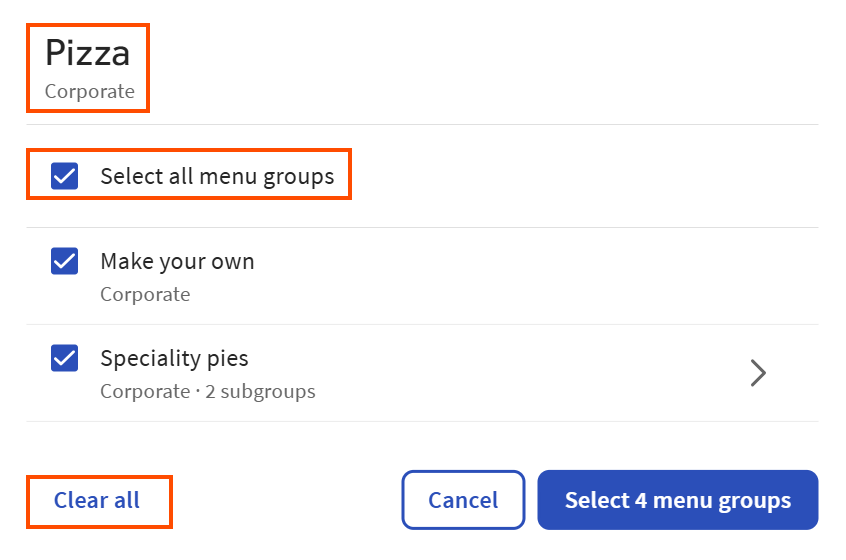
If a menu group has subgroups, the number of subgroups is listed below the menu group's name and an arrow appears to the right.
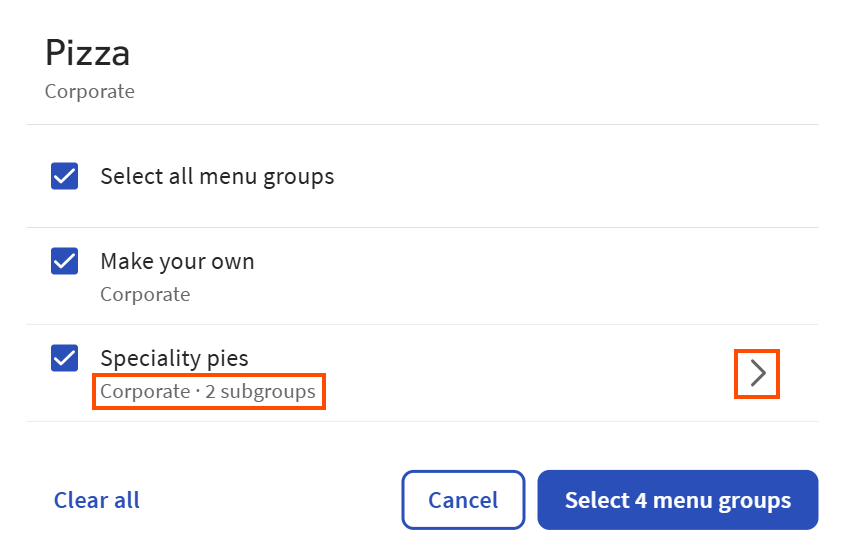
Select the arrow to see a list of the menu group and its subgroups.
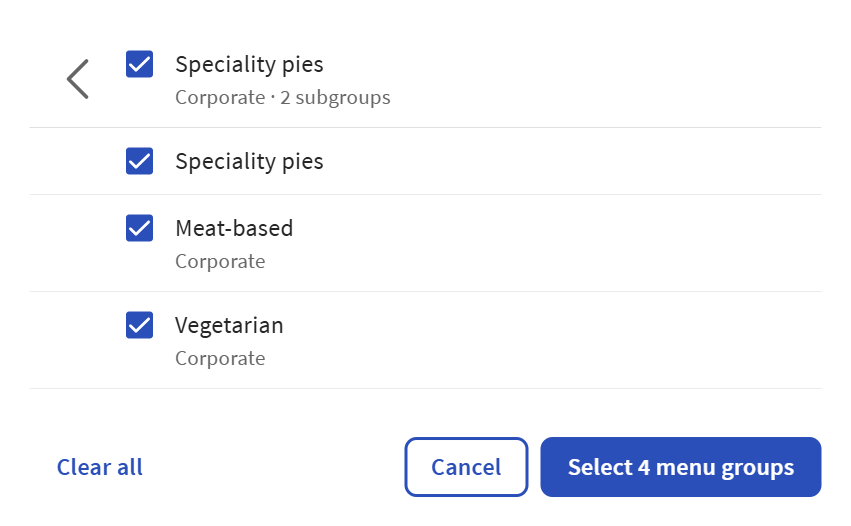
To return back up a level, select the arrow at the top-left of the dialog.
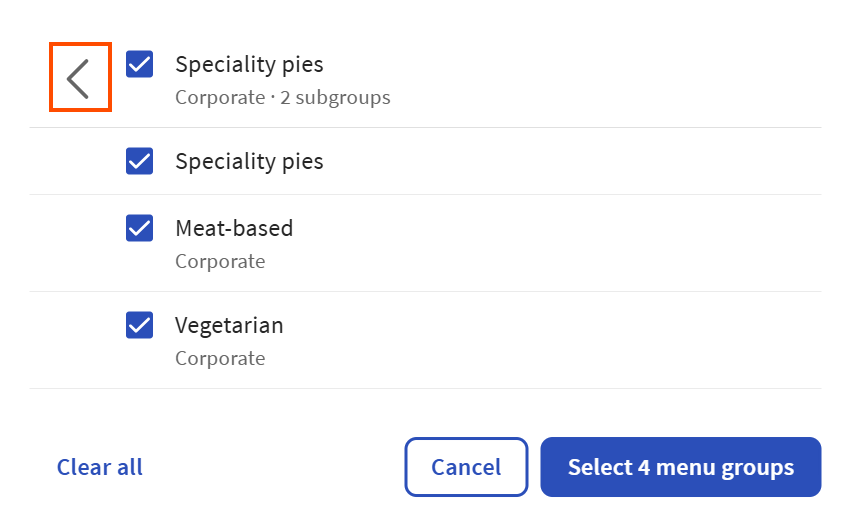
Throughout the menu groups filter dialog, a check next to a menu group's name indicates that all of its subgroups are also selected.
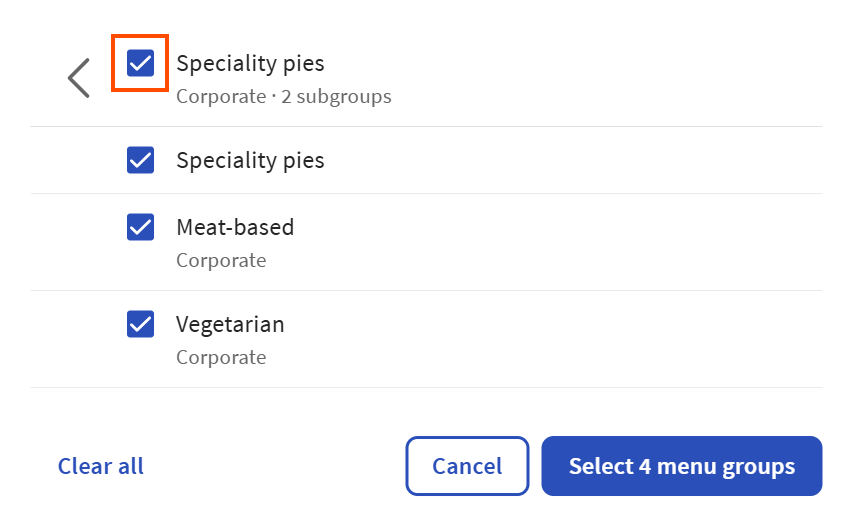
A dash next to a menu group's name indicates that only some of its subgroups are selected.
Price levels cannot be filtered in single-location restaurants. Use the search field to limit the list of price levels you see in the menu manager if you have a single-location restaurant.
For multi-location restaurants, price levels are filtered by the locations you select from the locations control and, optionally, by the search term you enter in the search field.
To understand how you can use the location control to filter price levels, you have to understand price level targets. When you create a price level, you assign it a target that specifies the locations where the price level can be used. For example, consider the following location group hierarchy:
-
Corporate
-
Northeast
-
Boston
-
New York City
-
-
Southeast
-
Atlanta
-
Charlotte
-
-
If you target a price level to the Northeast location group, it is used by locations contained in the Northeast group, which are Boston and New York City. If you target a price level to the Southeast location group, it is used by locations contained in the Southeast group, which are Atlanta and Charlotte.
The location control filters price levels so that you only see price levels that are targeted at the locations you selected. For example:
-
Price Level A is targeted at New York City. If you select either Corporate, Northeast, or New York City from the location control (all of which include the New York City location), you see Price Level A in the menu manager.
-
Price Level B is targeted at Atlanta. If you select Corporate from the location control, you see Price Level B because the Corporate location group includes the Atlanta location. If you selected the Northeast location group from the location control, you do not see Price Level B because Atlanta is not included in the Northeast location group.
On the Items, Modifiers, and Price levels view, the Clear all button to the right of the filtering controls resets the controls in the following way:
-
The menu and menu group controls are reset so that nothing is selected.
-
For multi-location restaurants, the location control is reset so that the session restaurant is selected.
The Clear all button has no effect on the search field. Any search terms you have entered remain after the Clear all button is selected.